
In the previous three posts I went through the assembly of the chassis, the gearboxes, and attaching the gearboxes to the chassis. In this post, I am going to build the body and finish things up. Unfortunately I did not document the process of painting and decaling. I’m going to let the pictures do most of the talking here, as there’s not much left to tell. Enjoy!
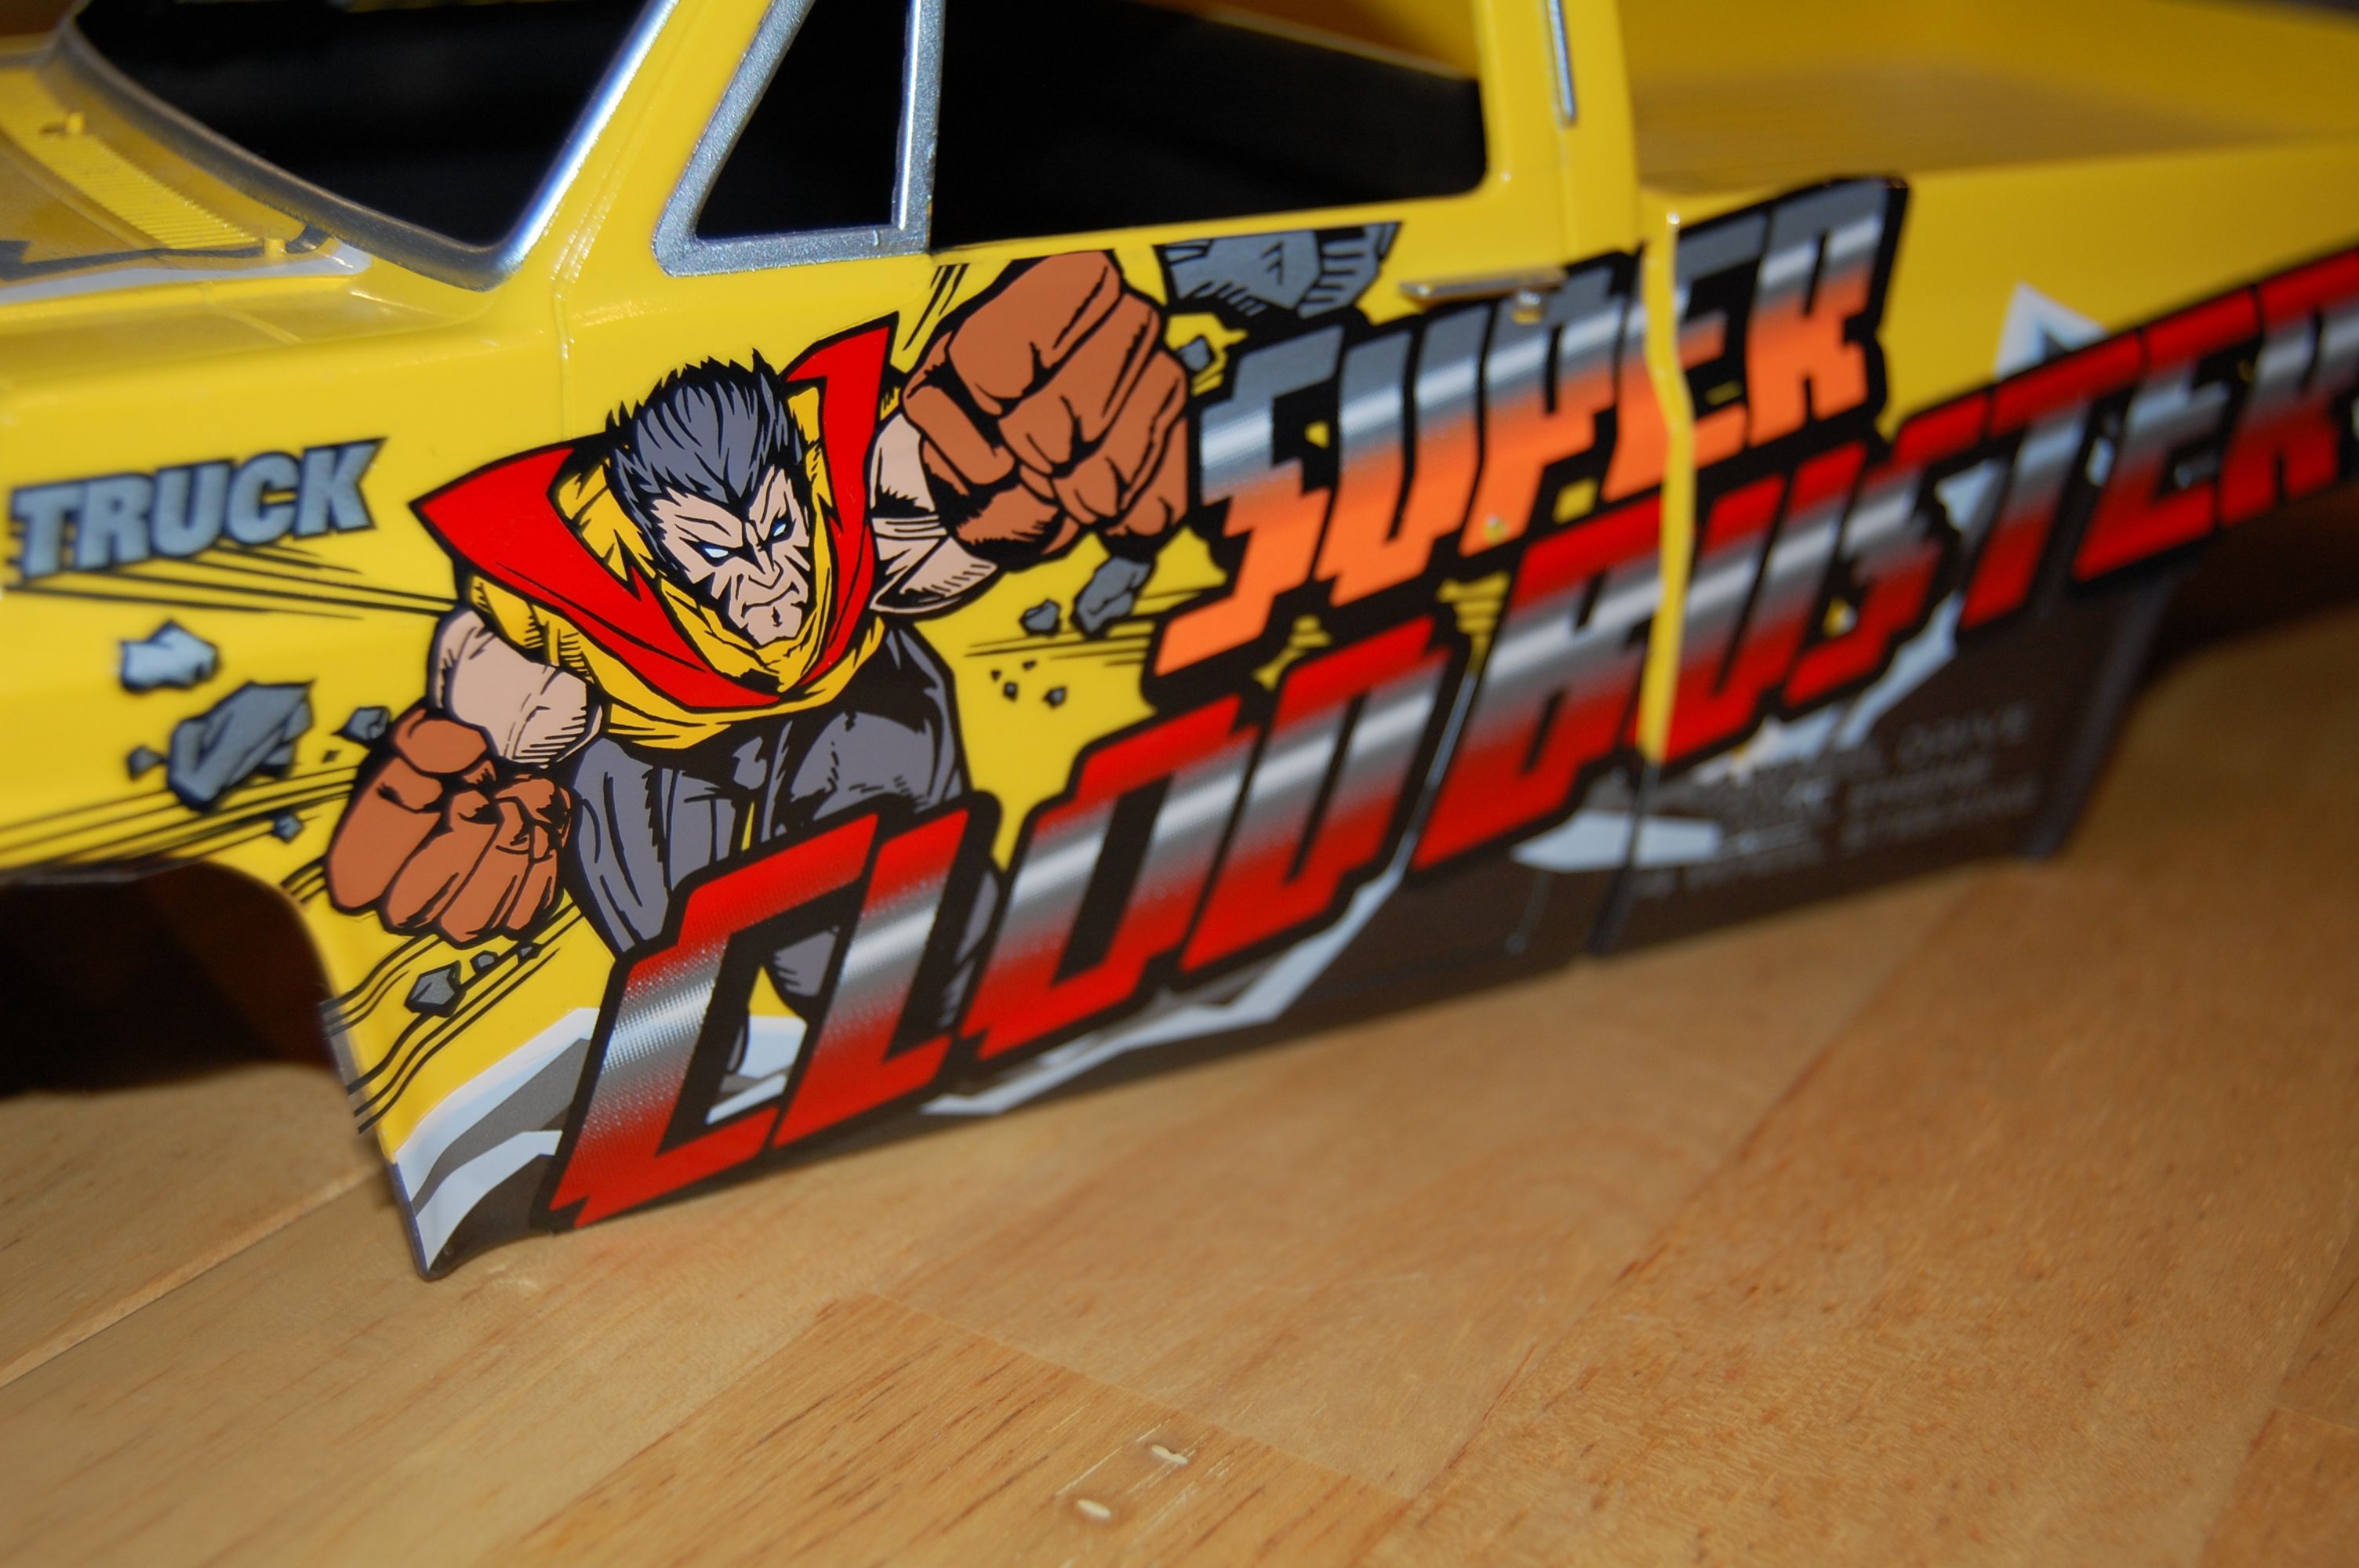
Step 35 – Painting The Body


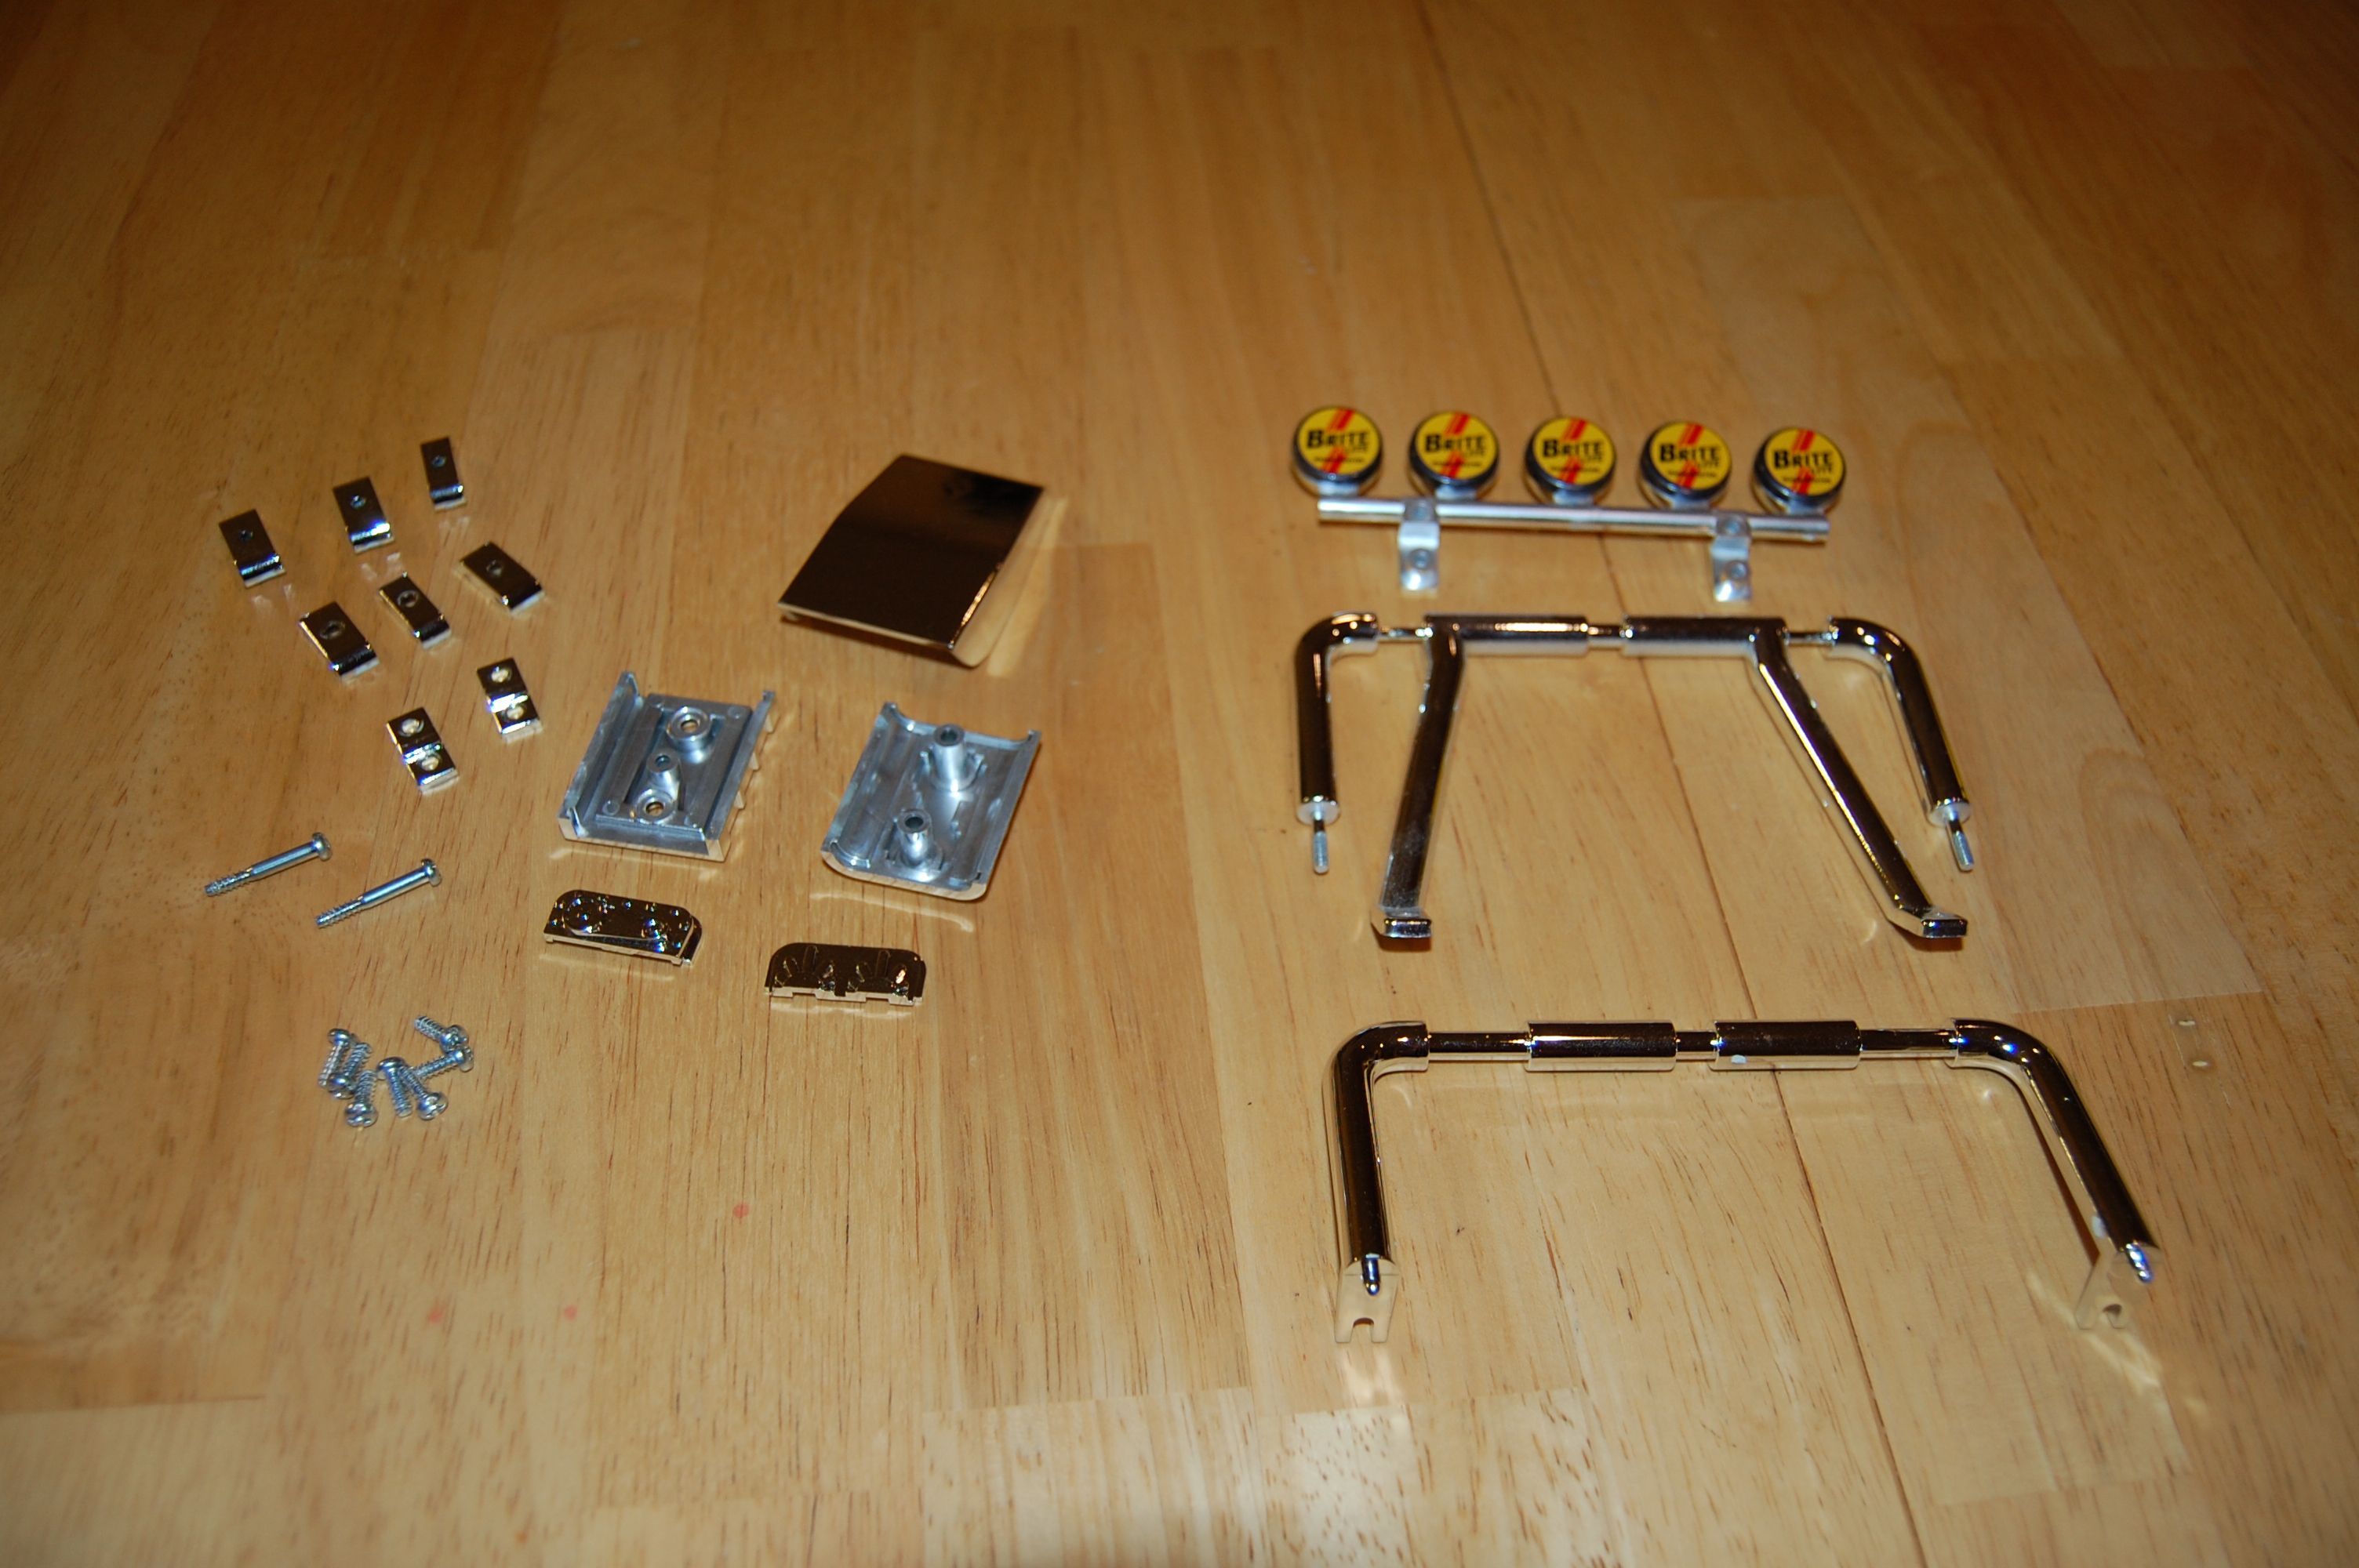
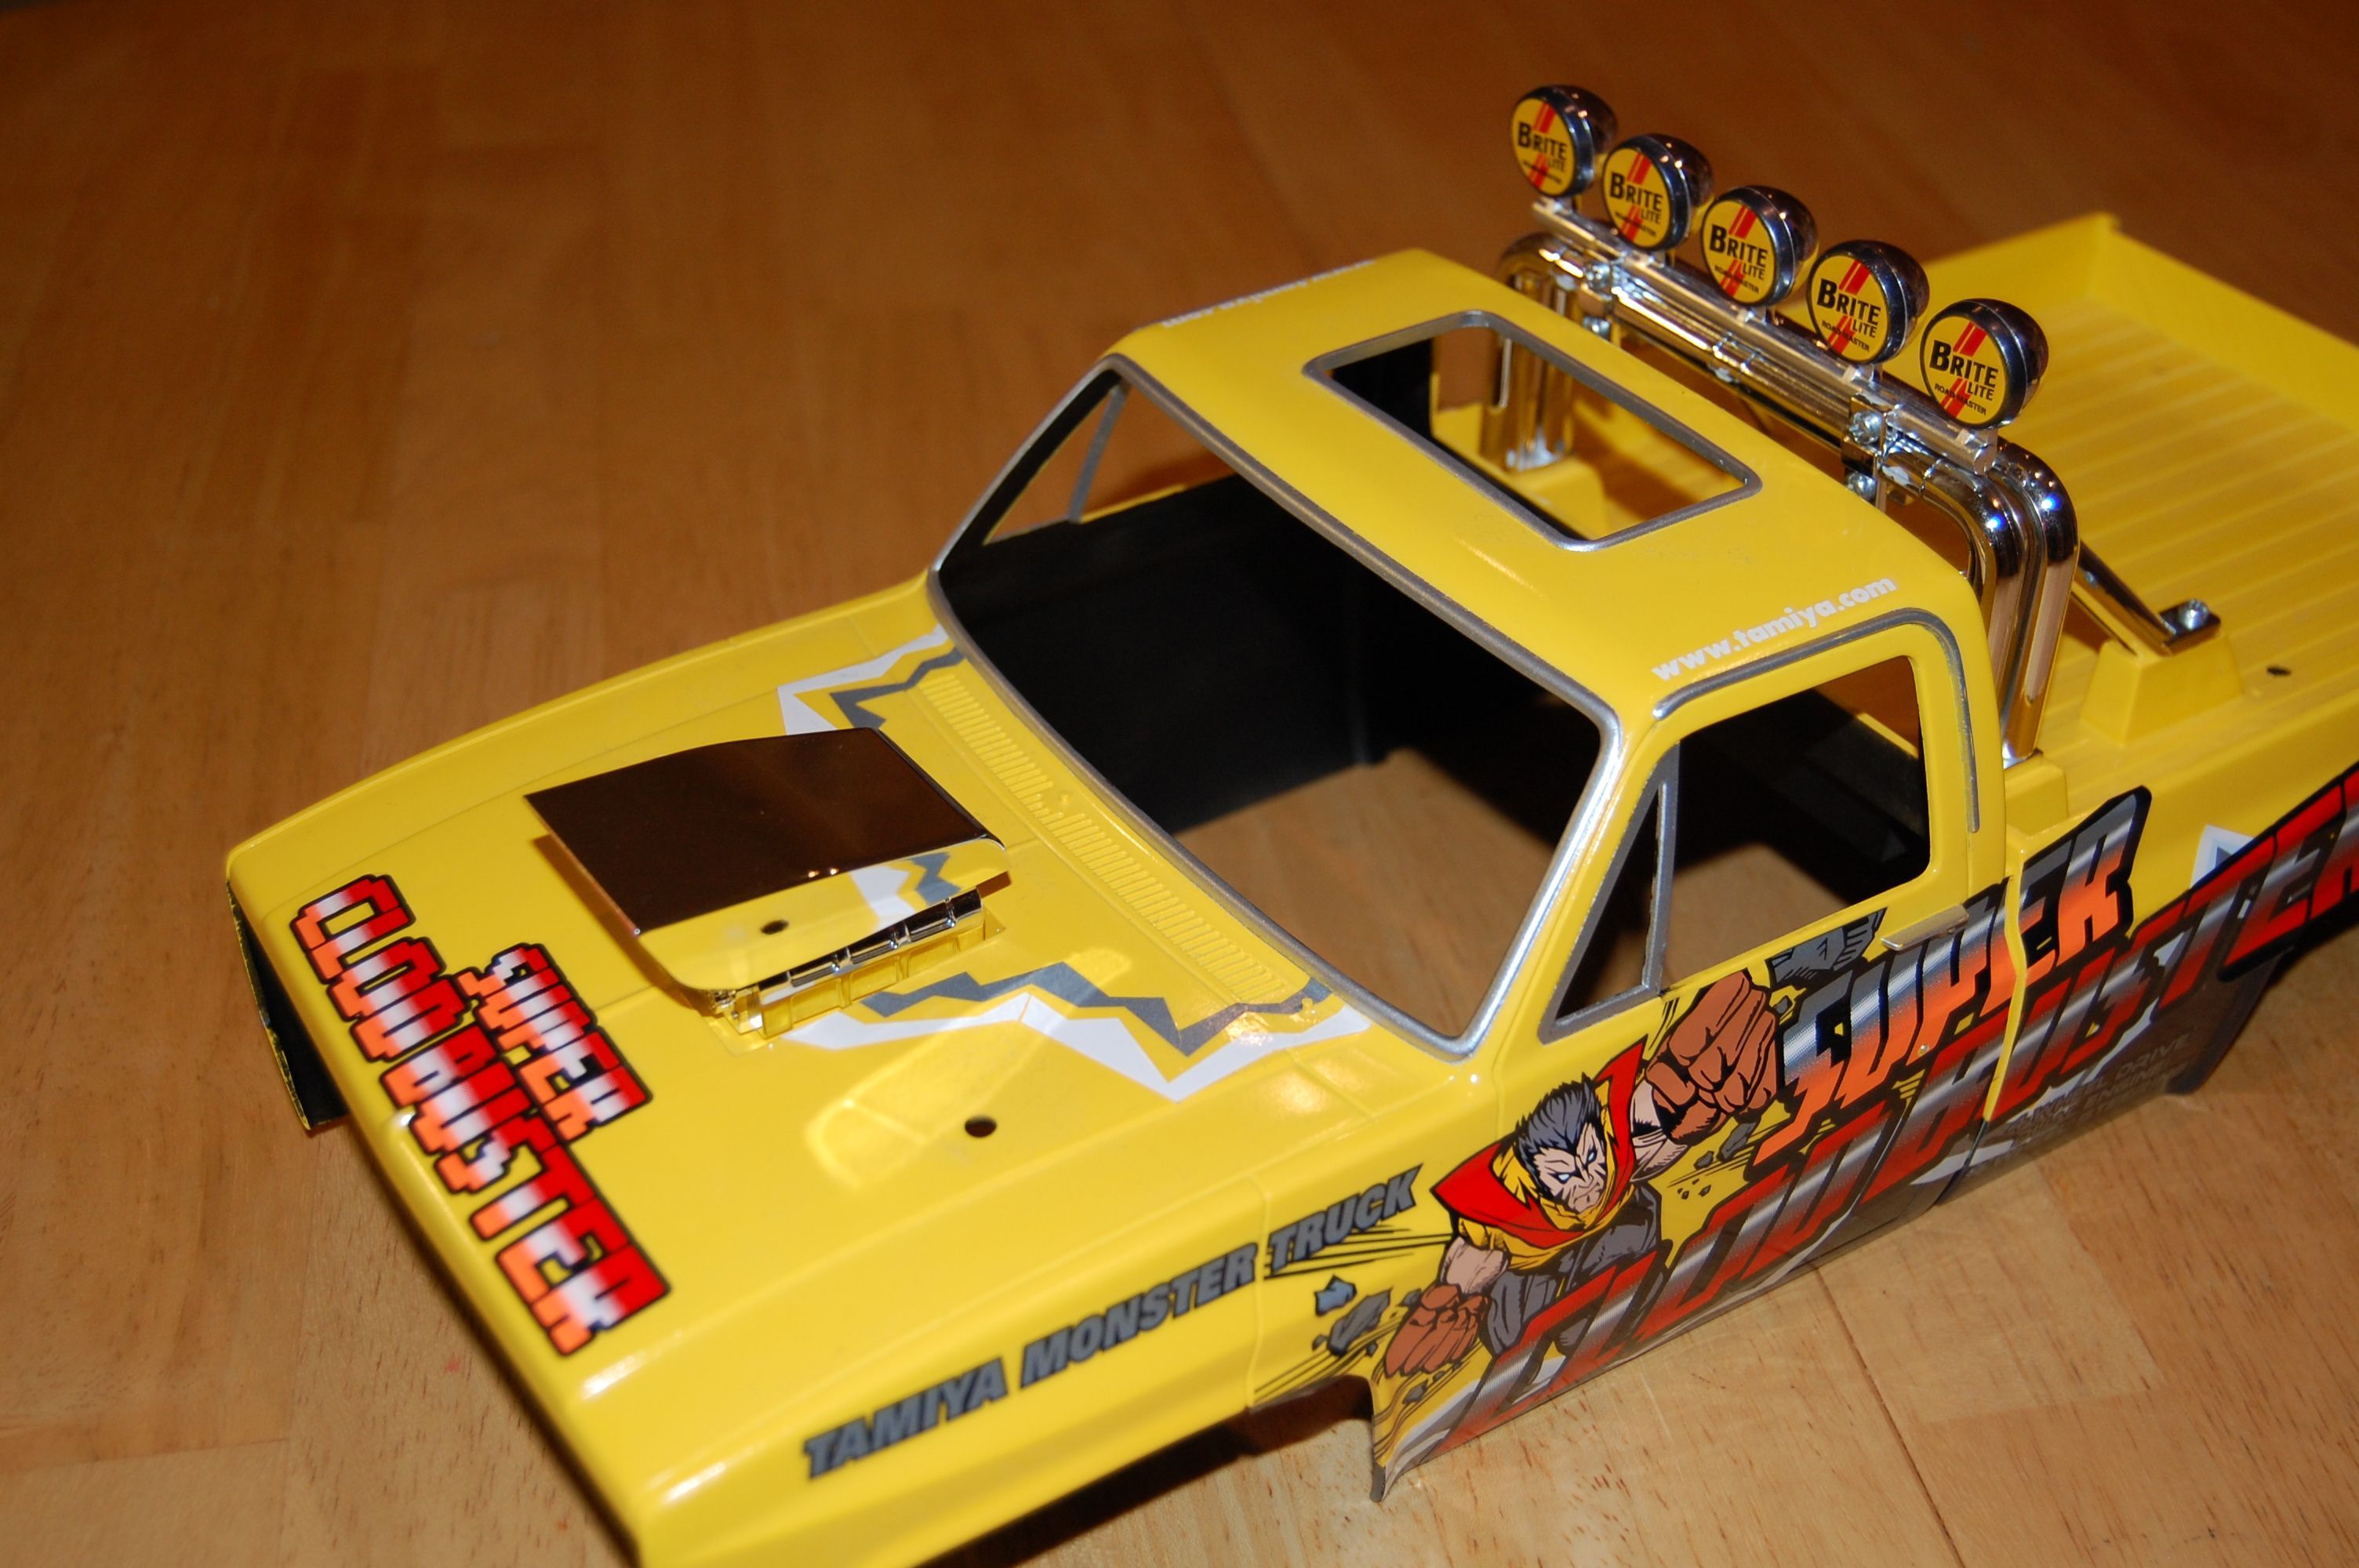
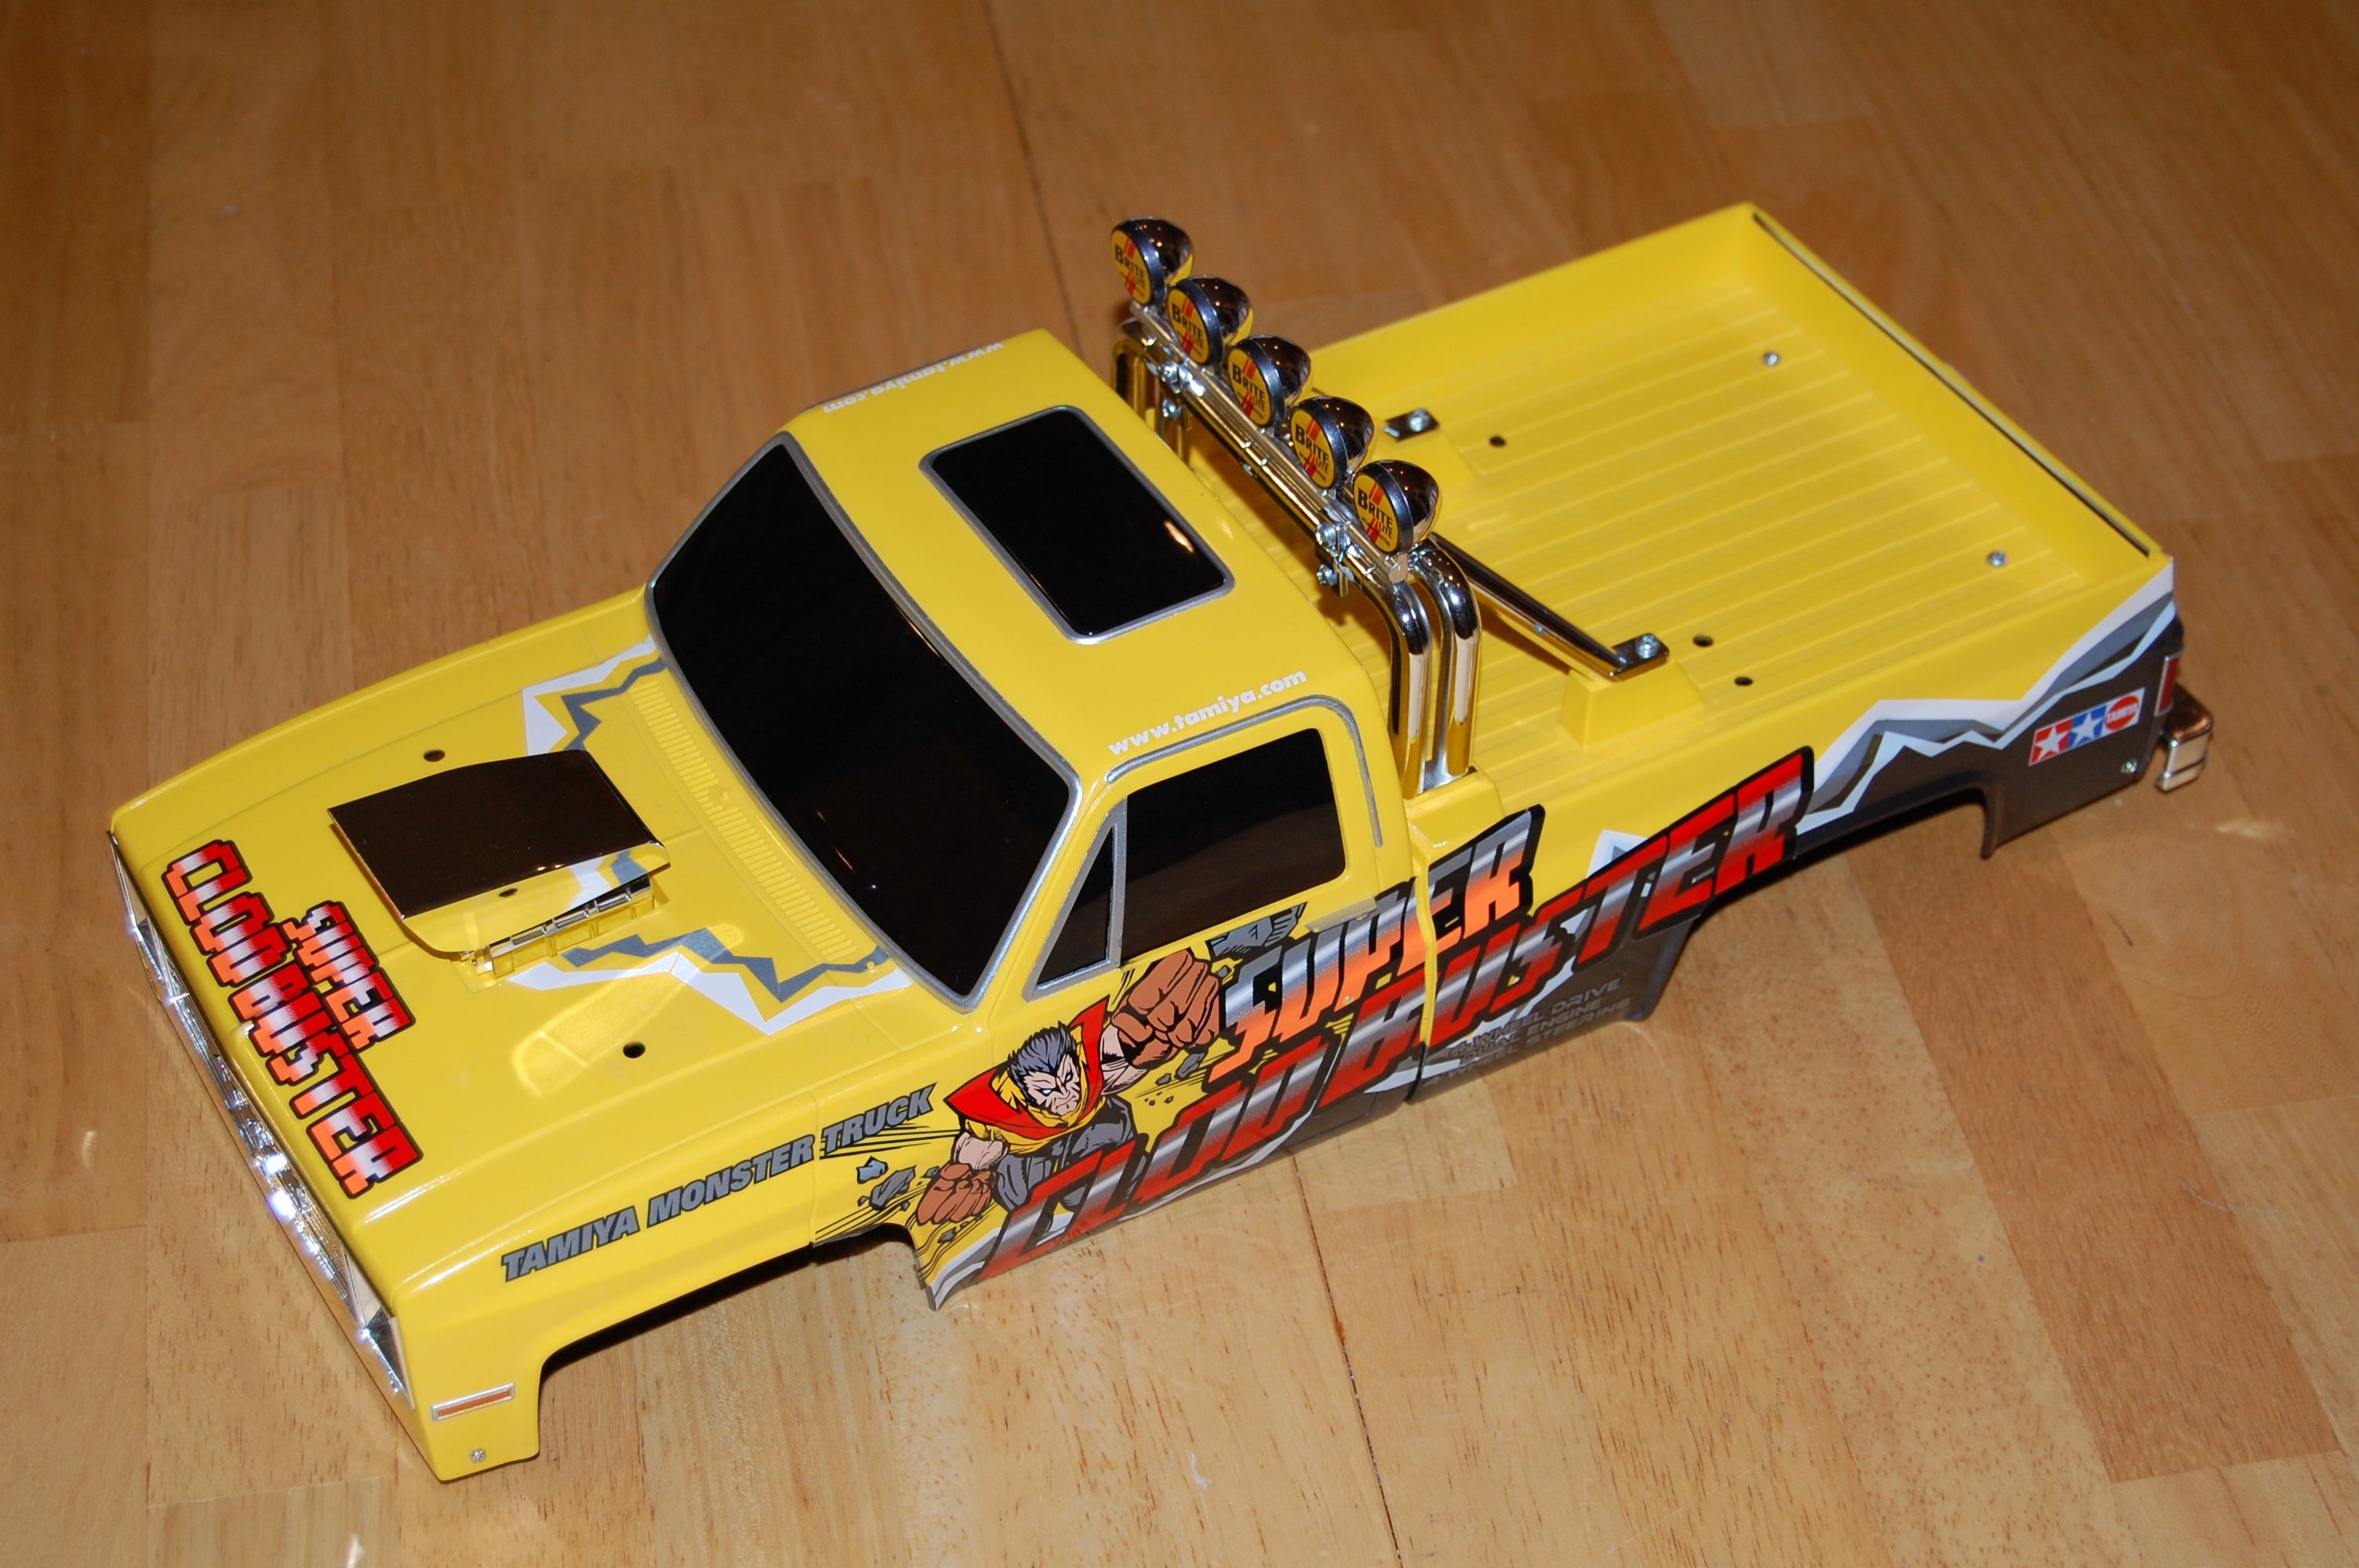
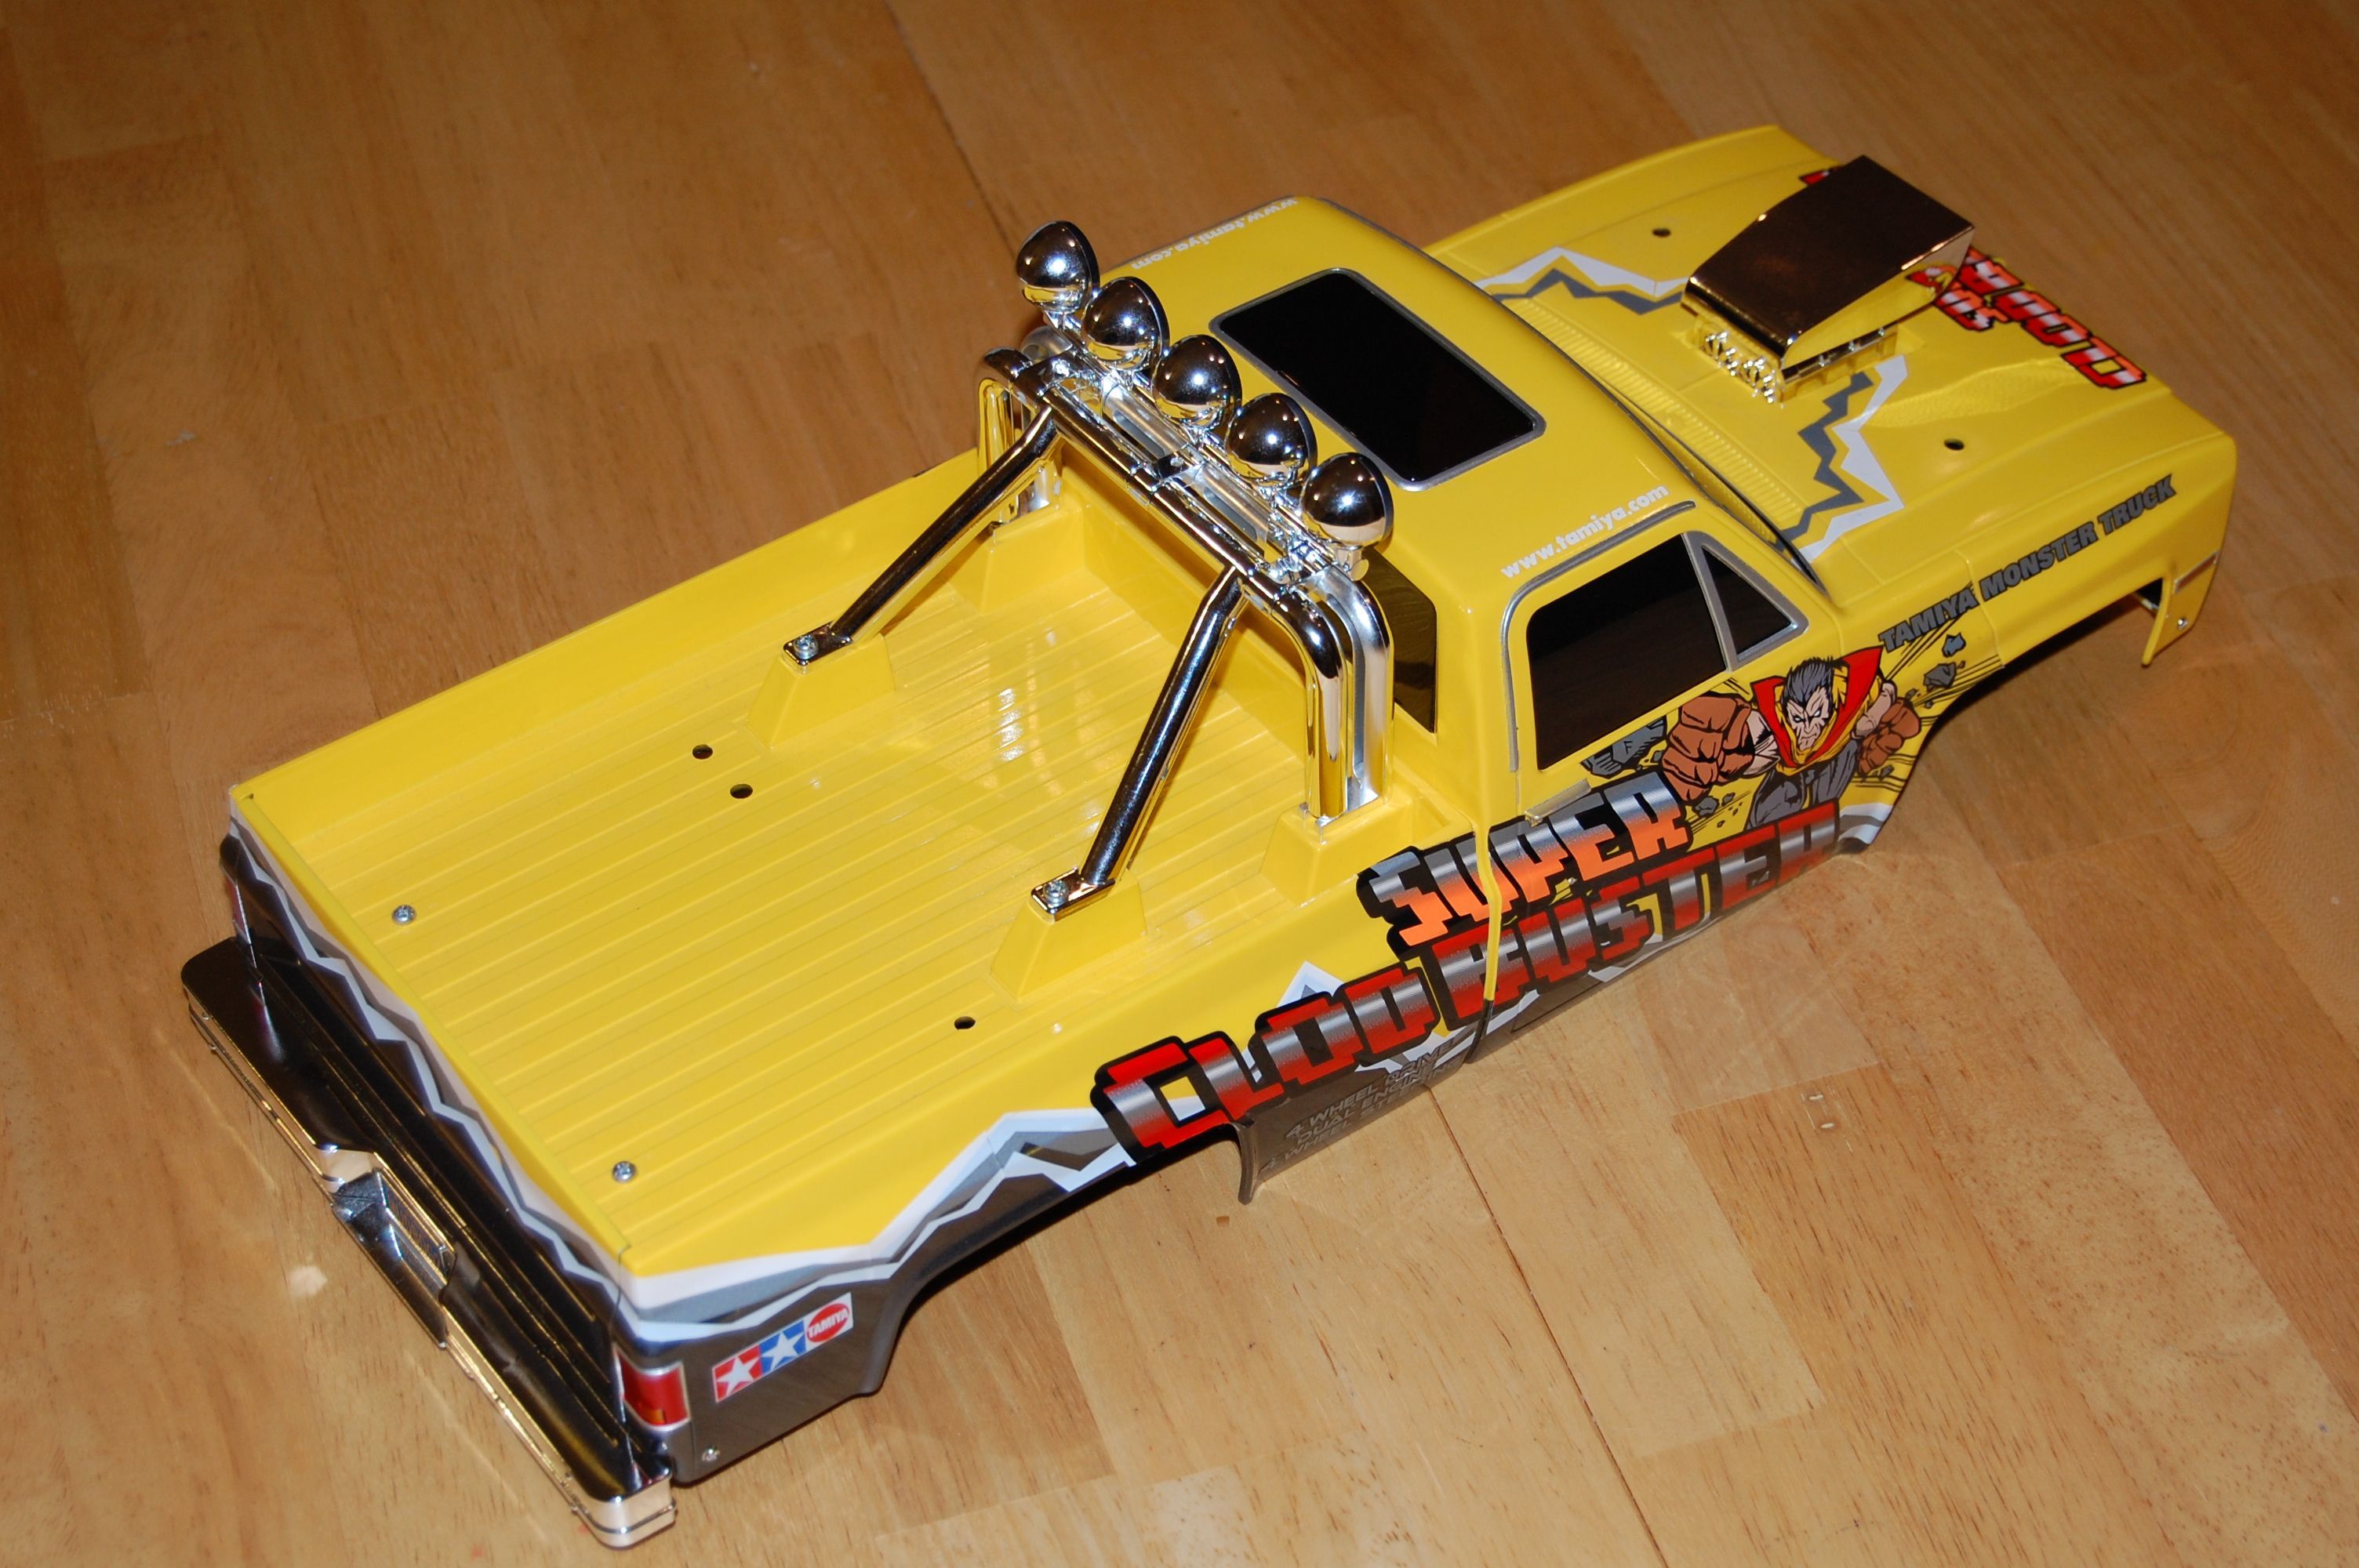
Step 36 – Roll Bar Assembly
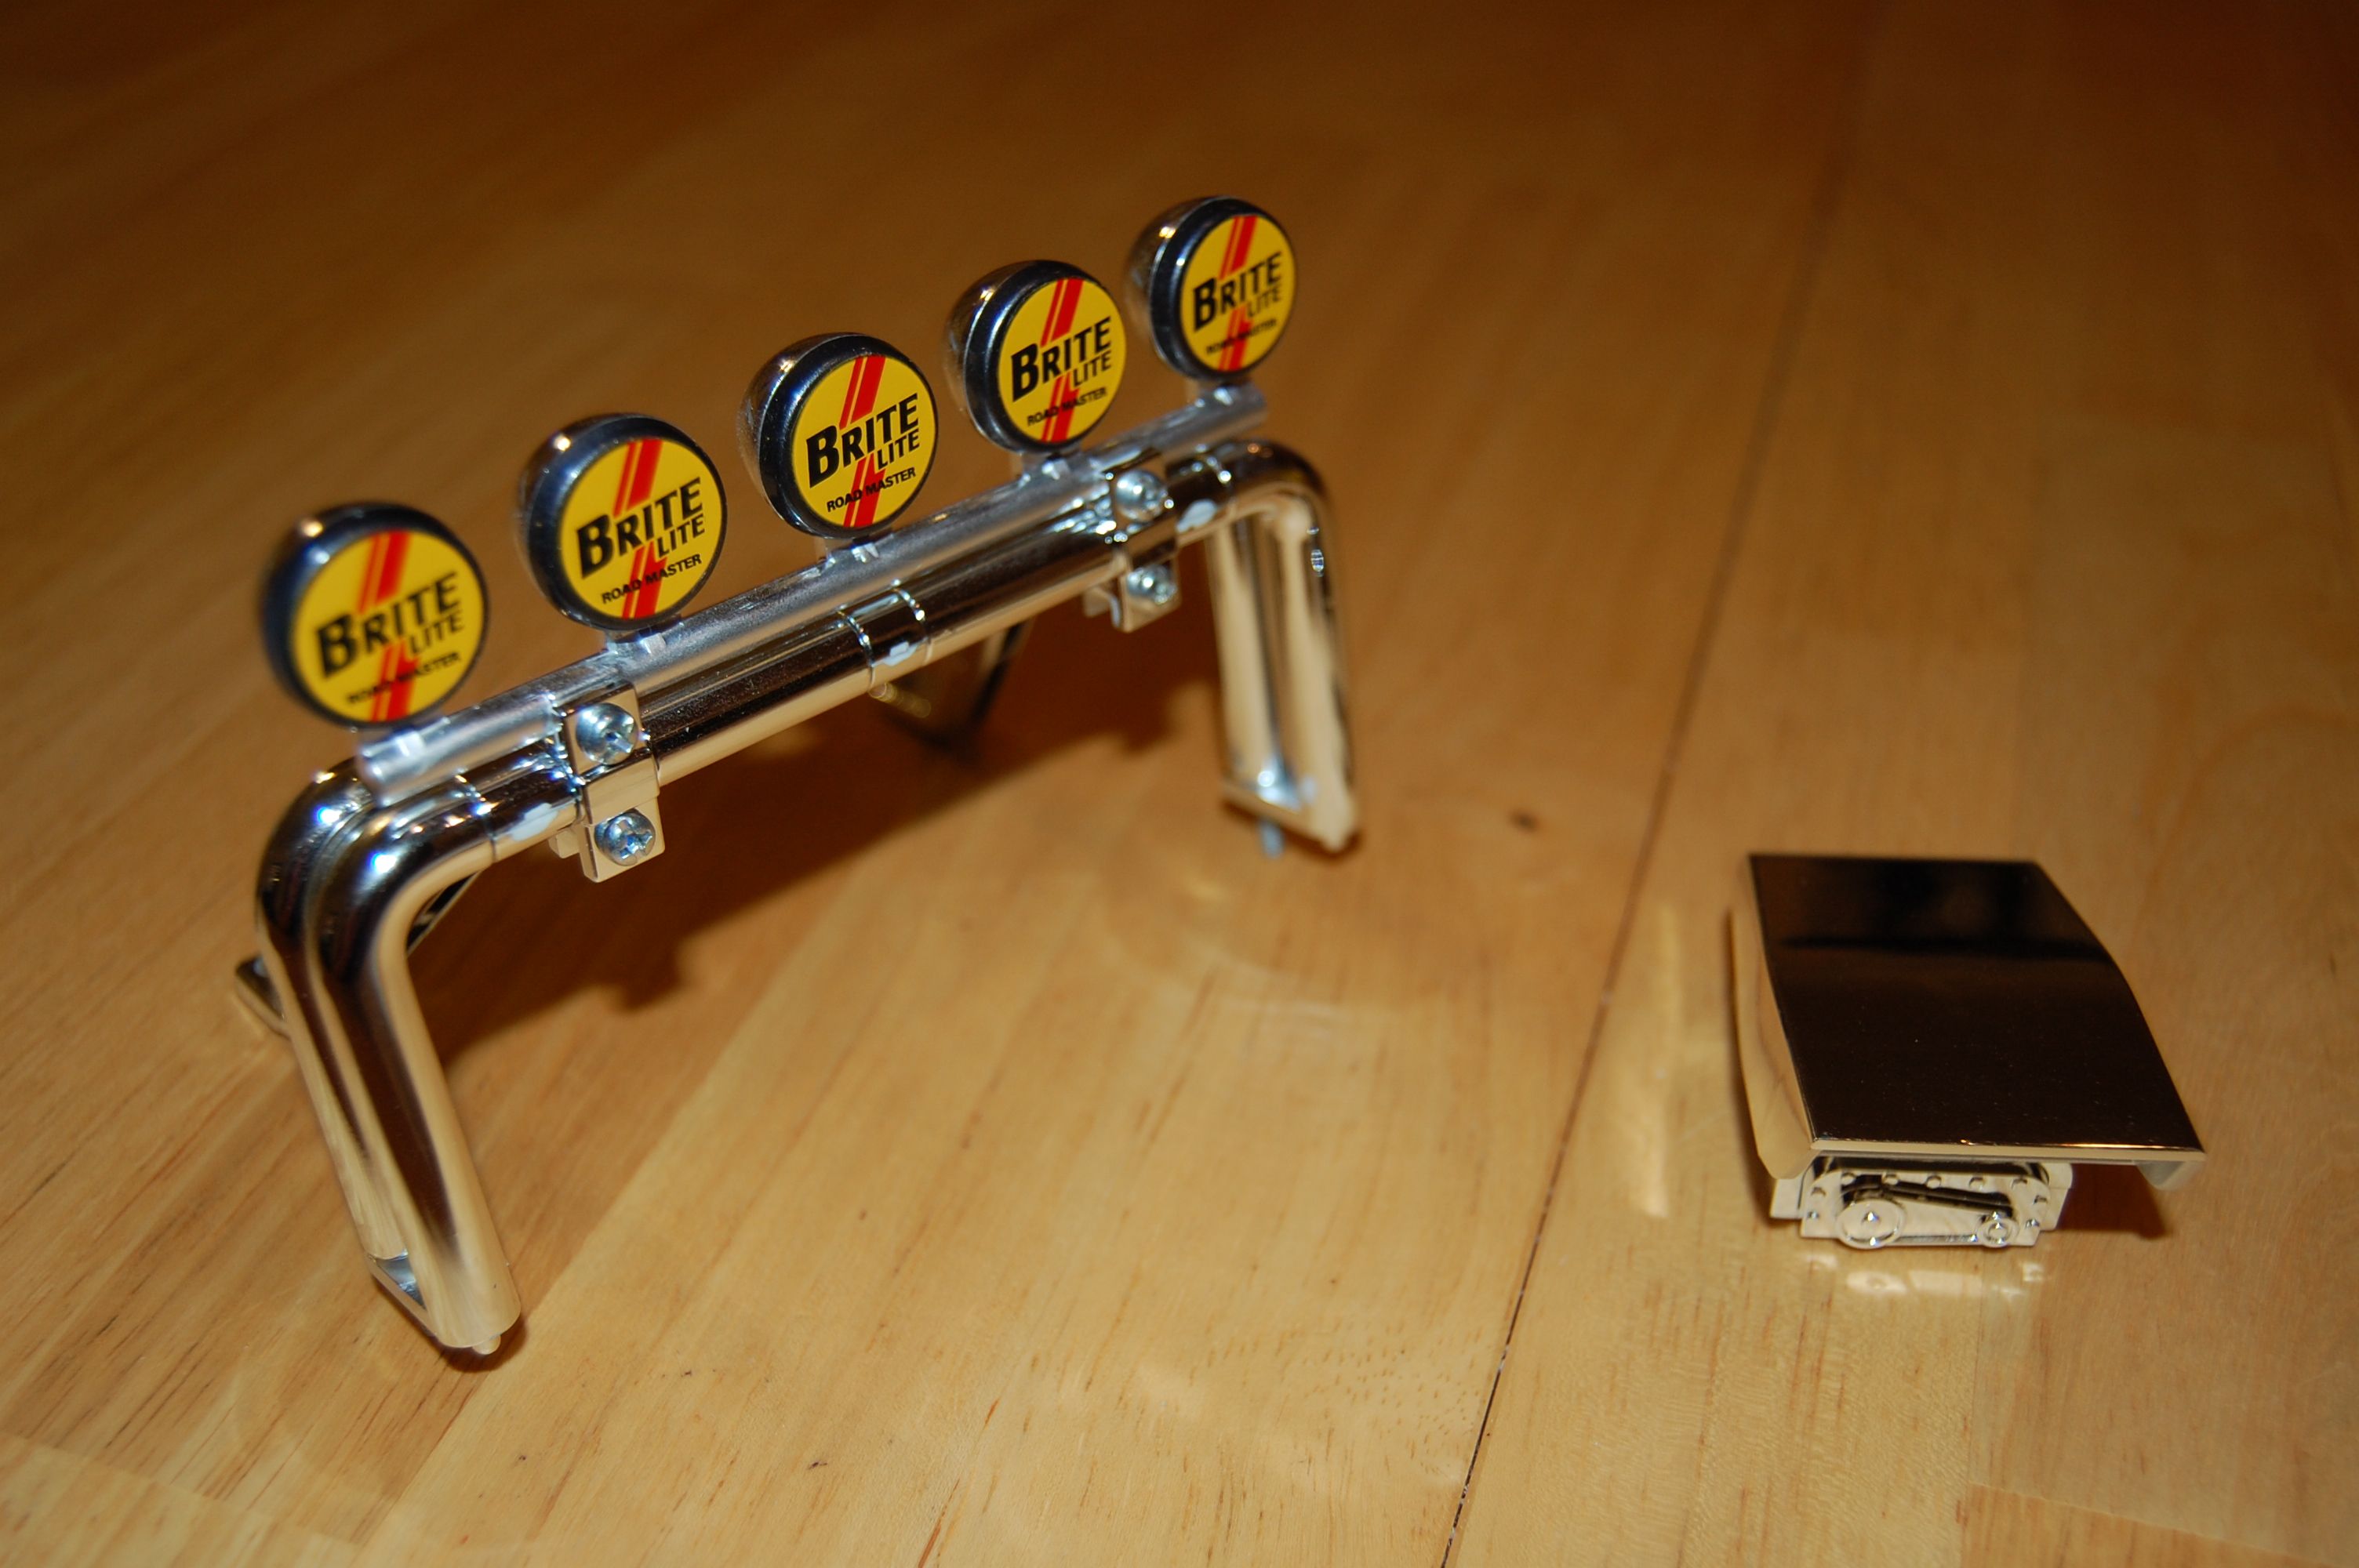
Step 37 – Attaching Roll Bar

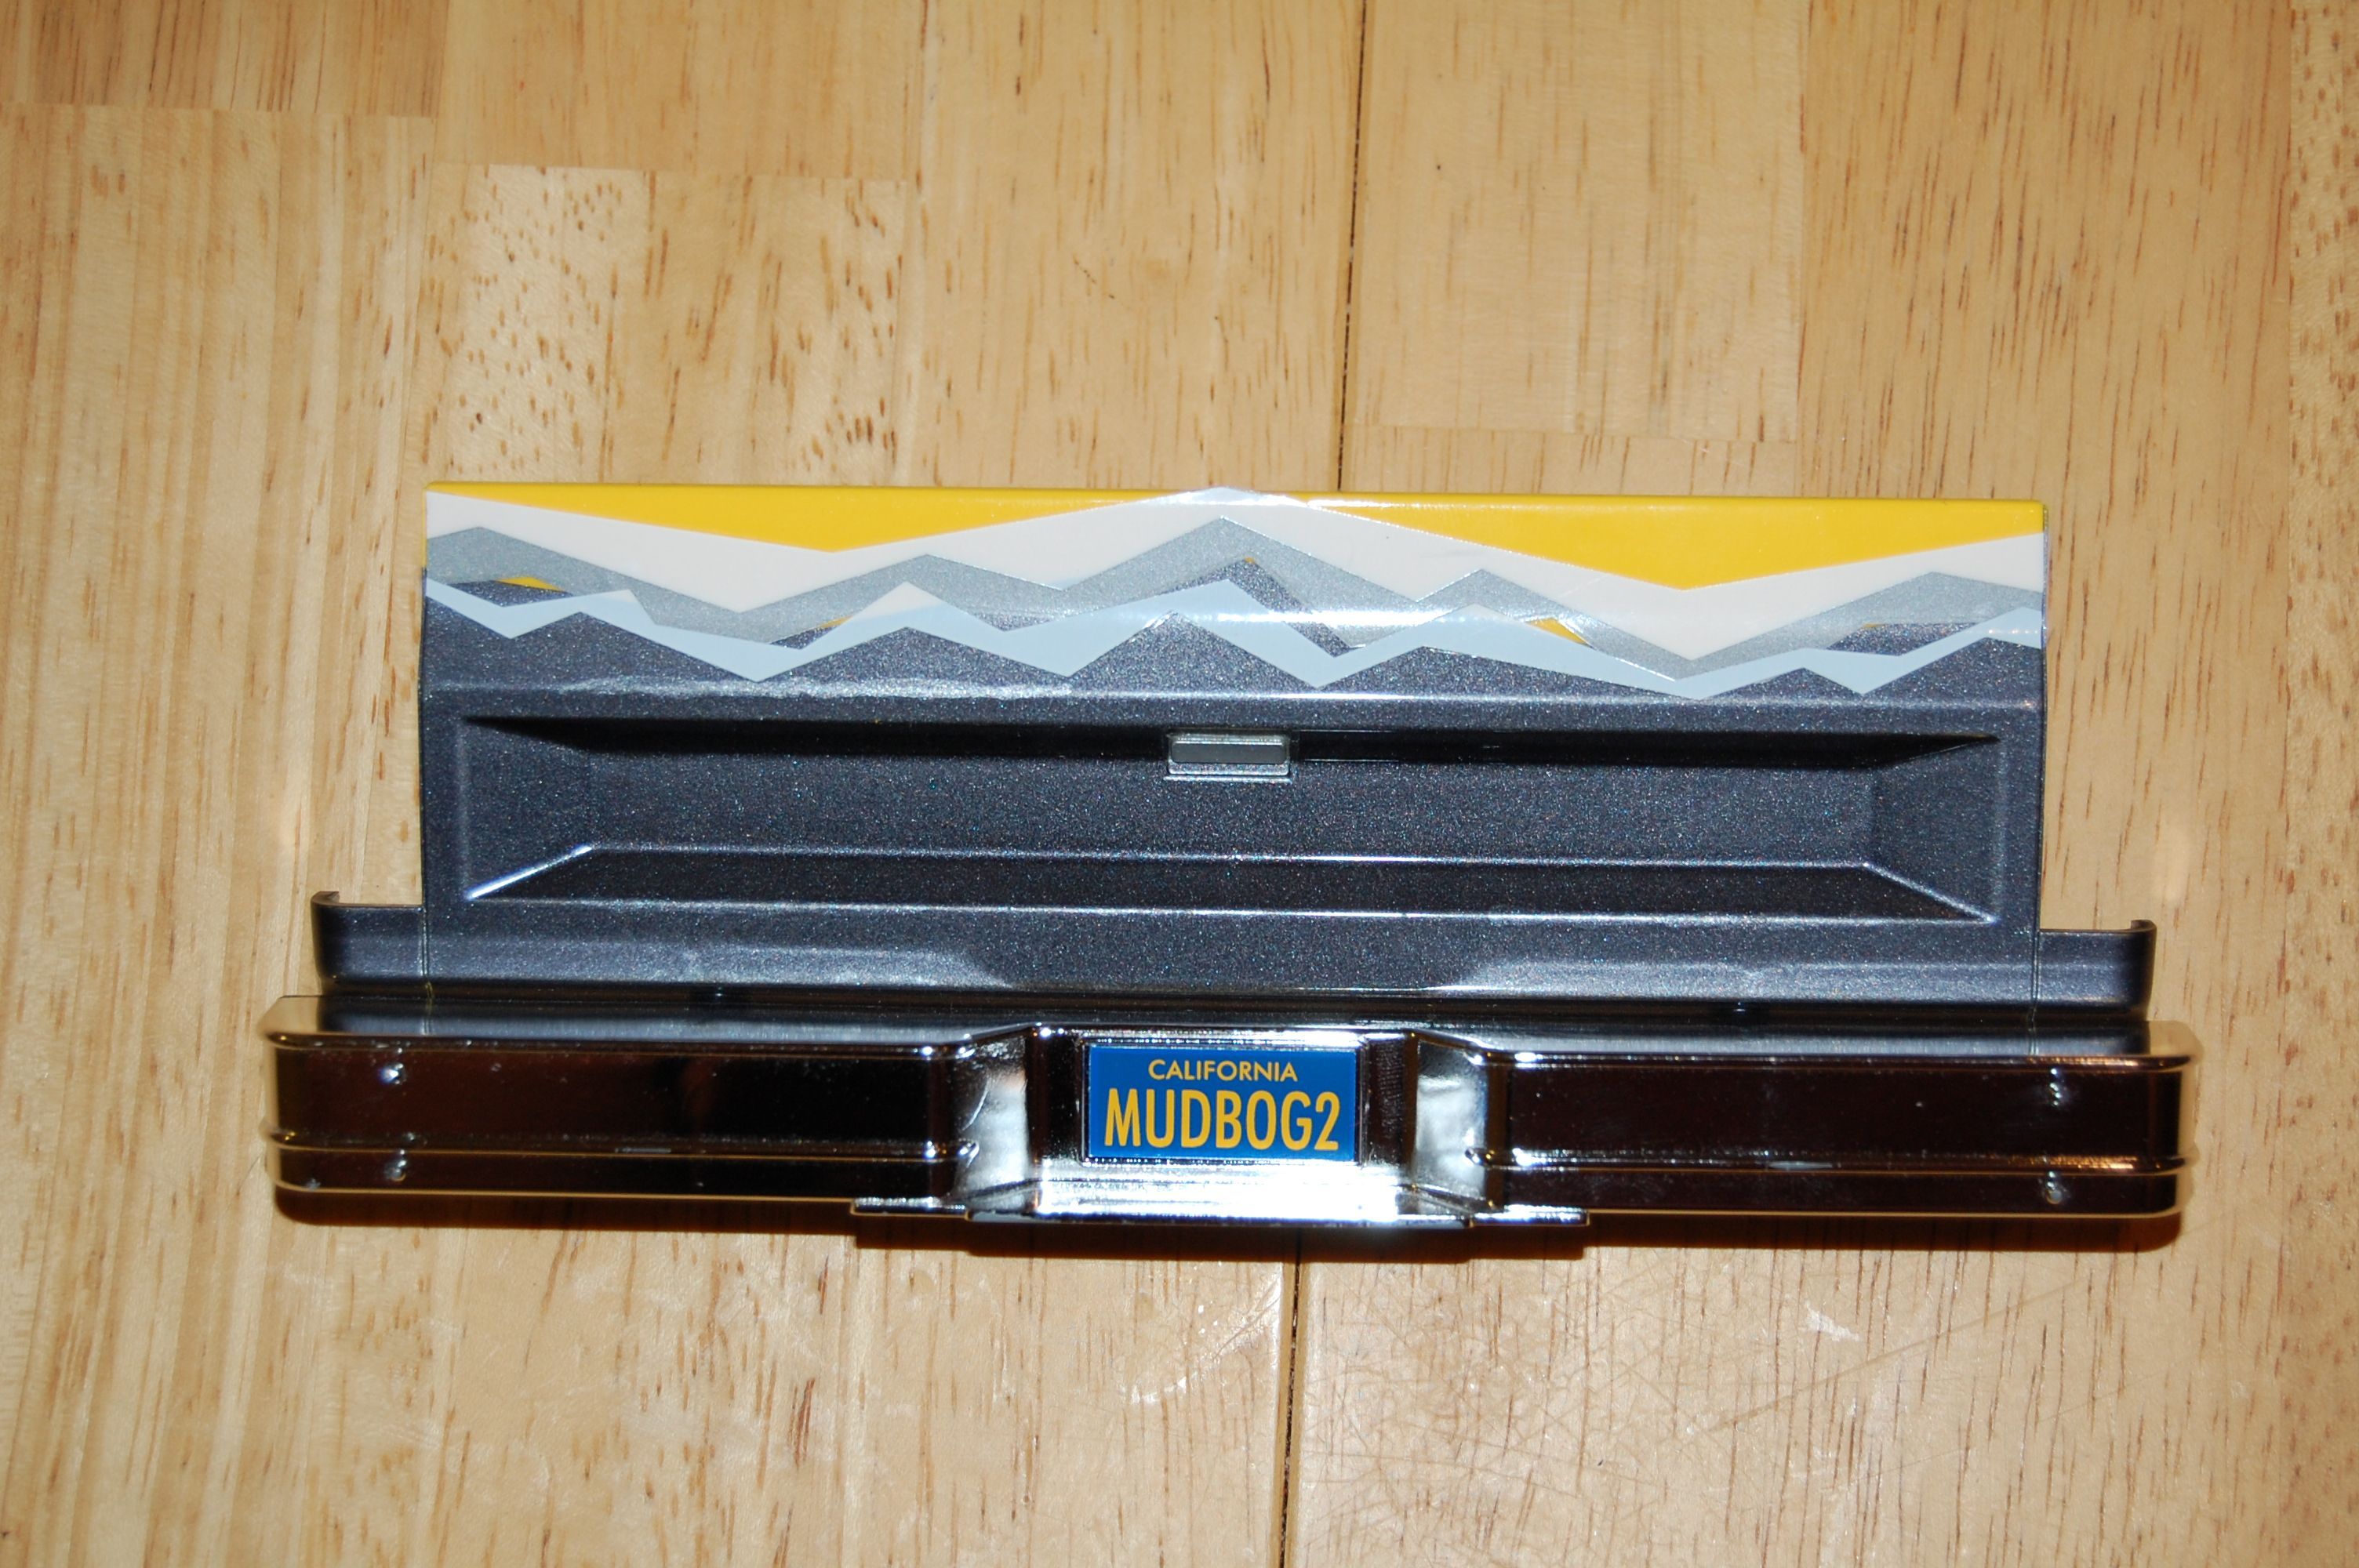
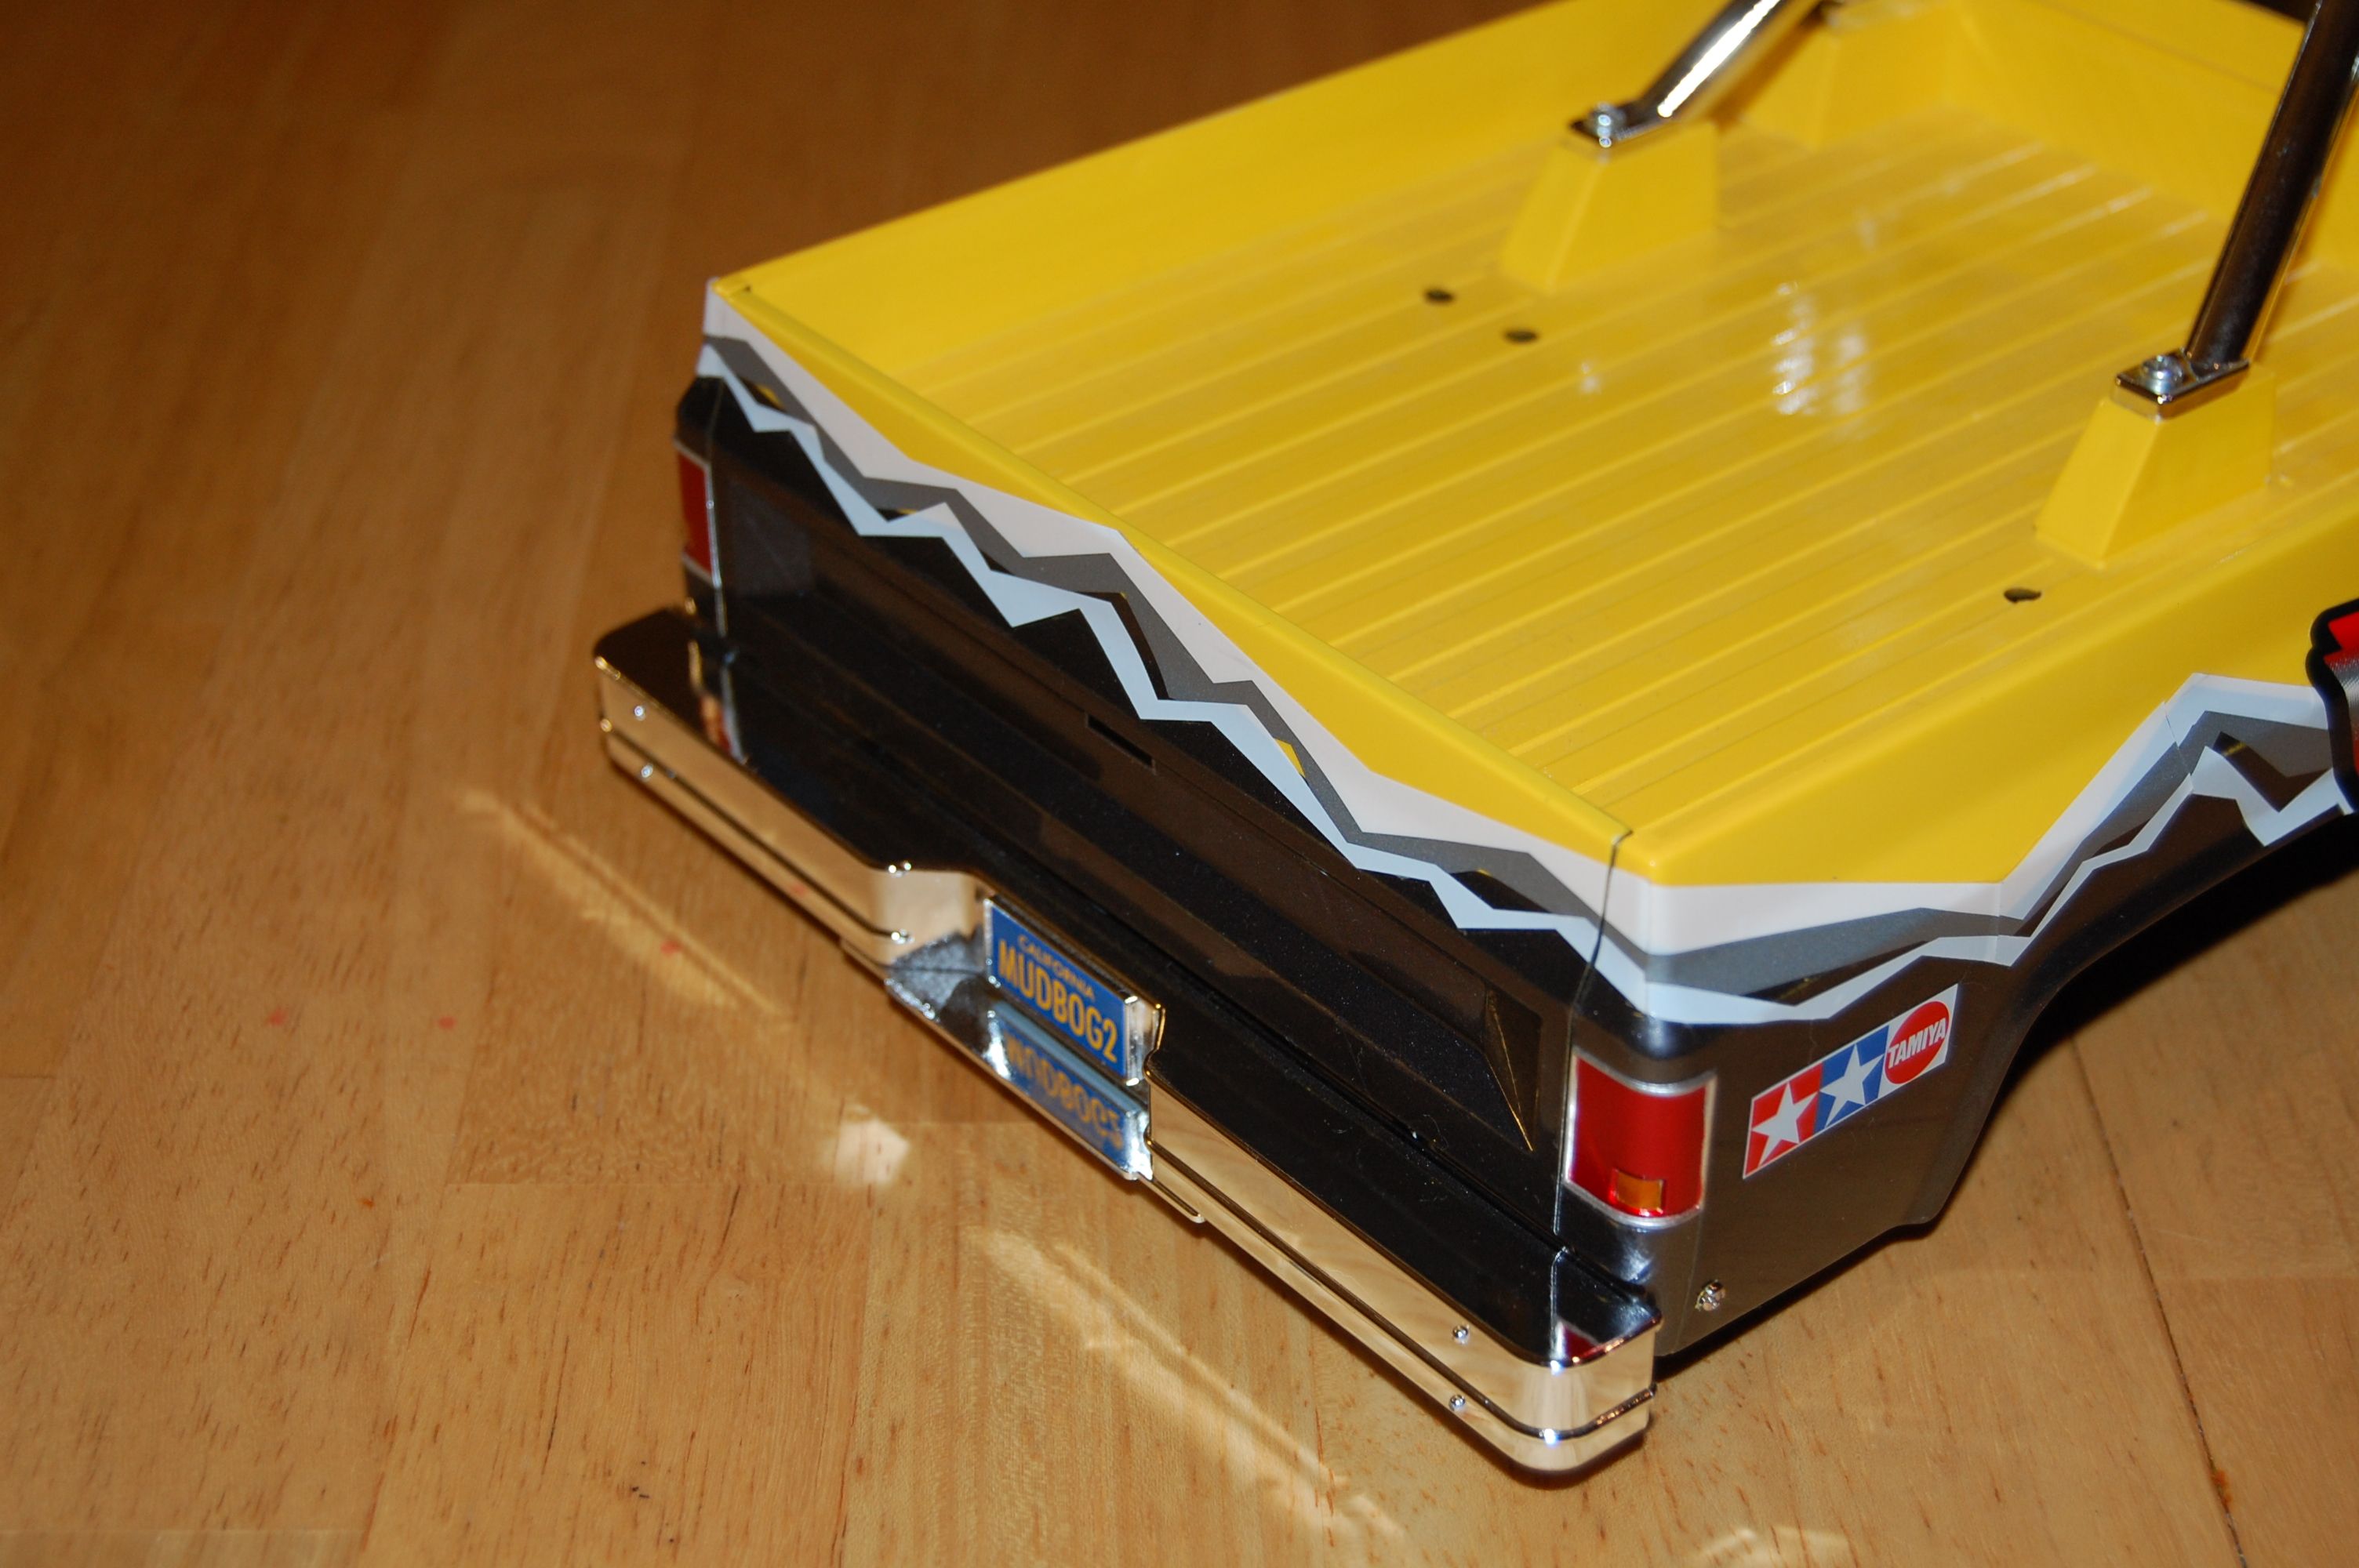
Step 38 – Tailgate

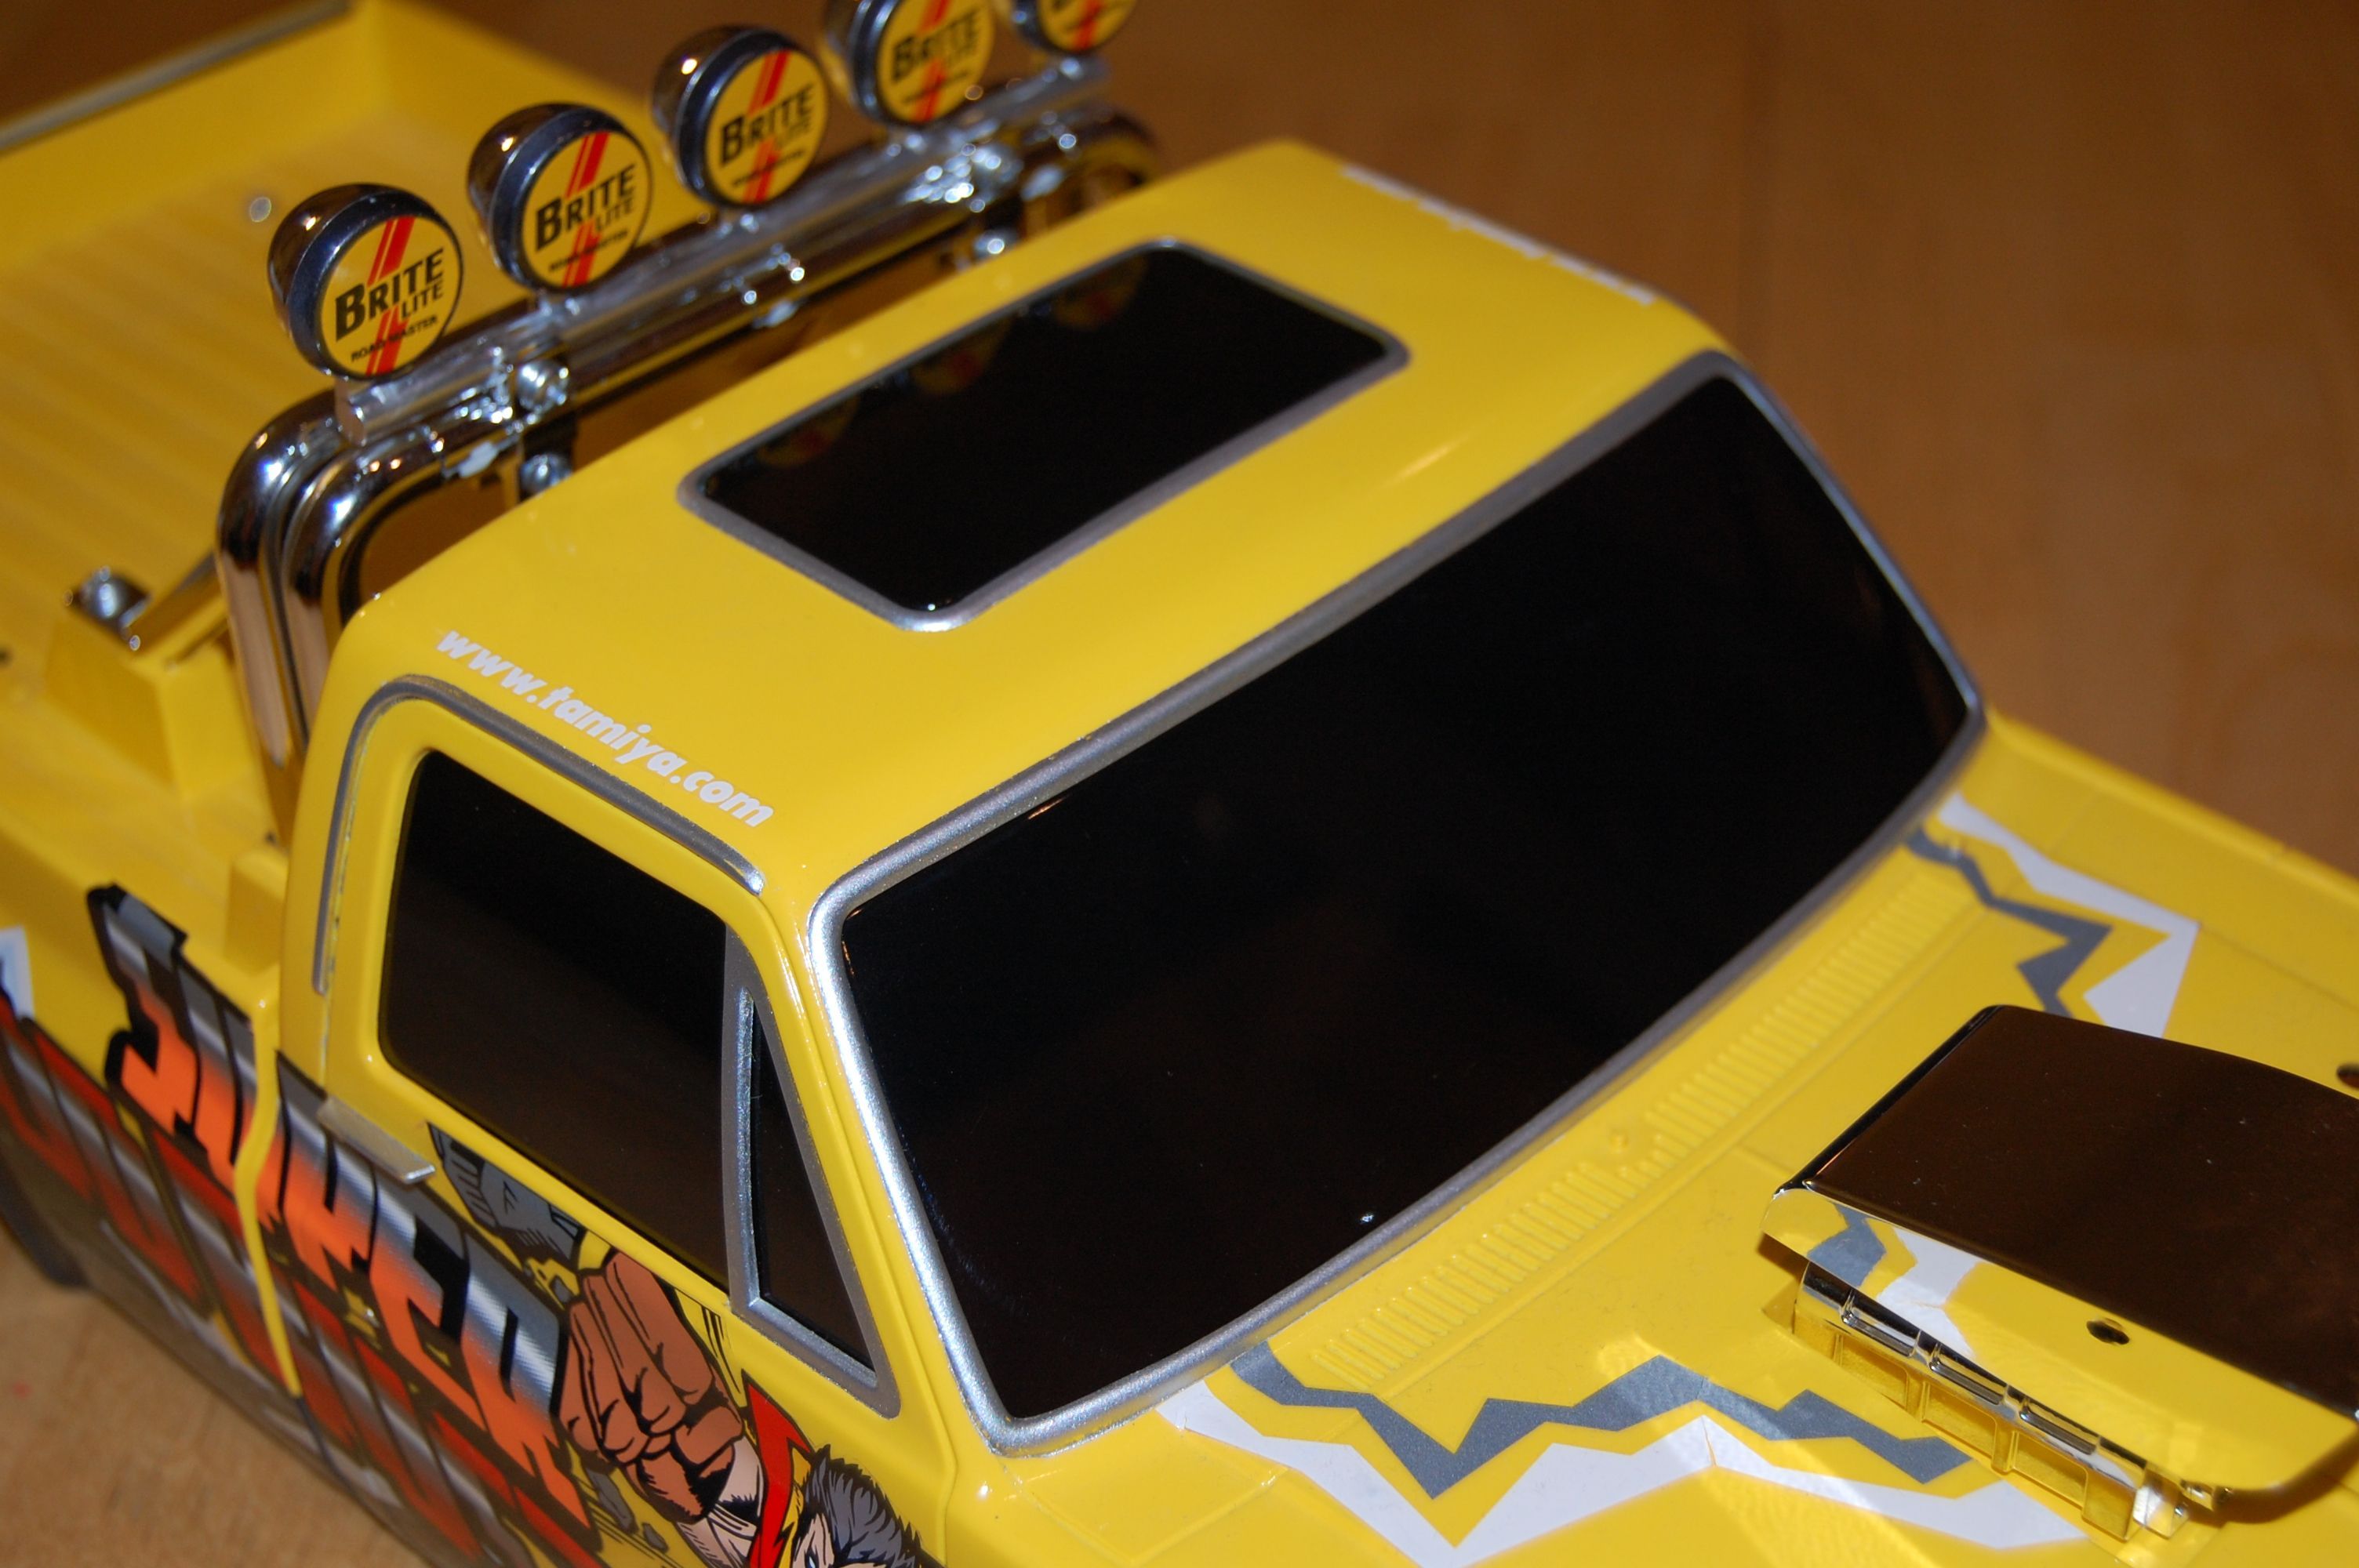
Step 39 – Attaching Windshield
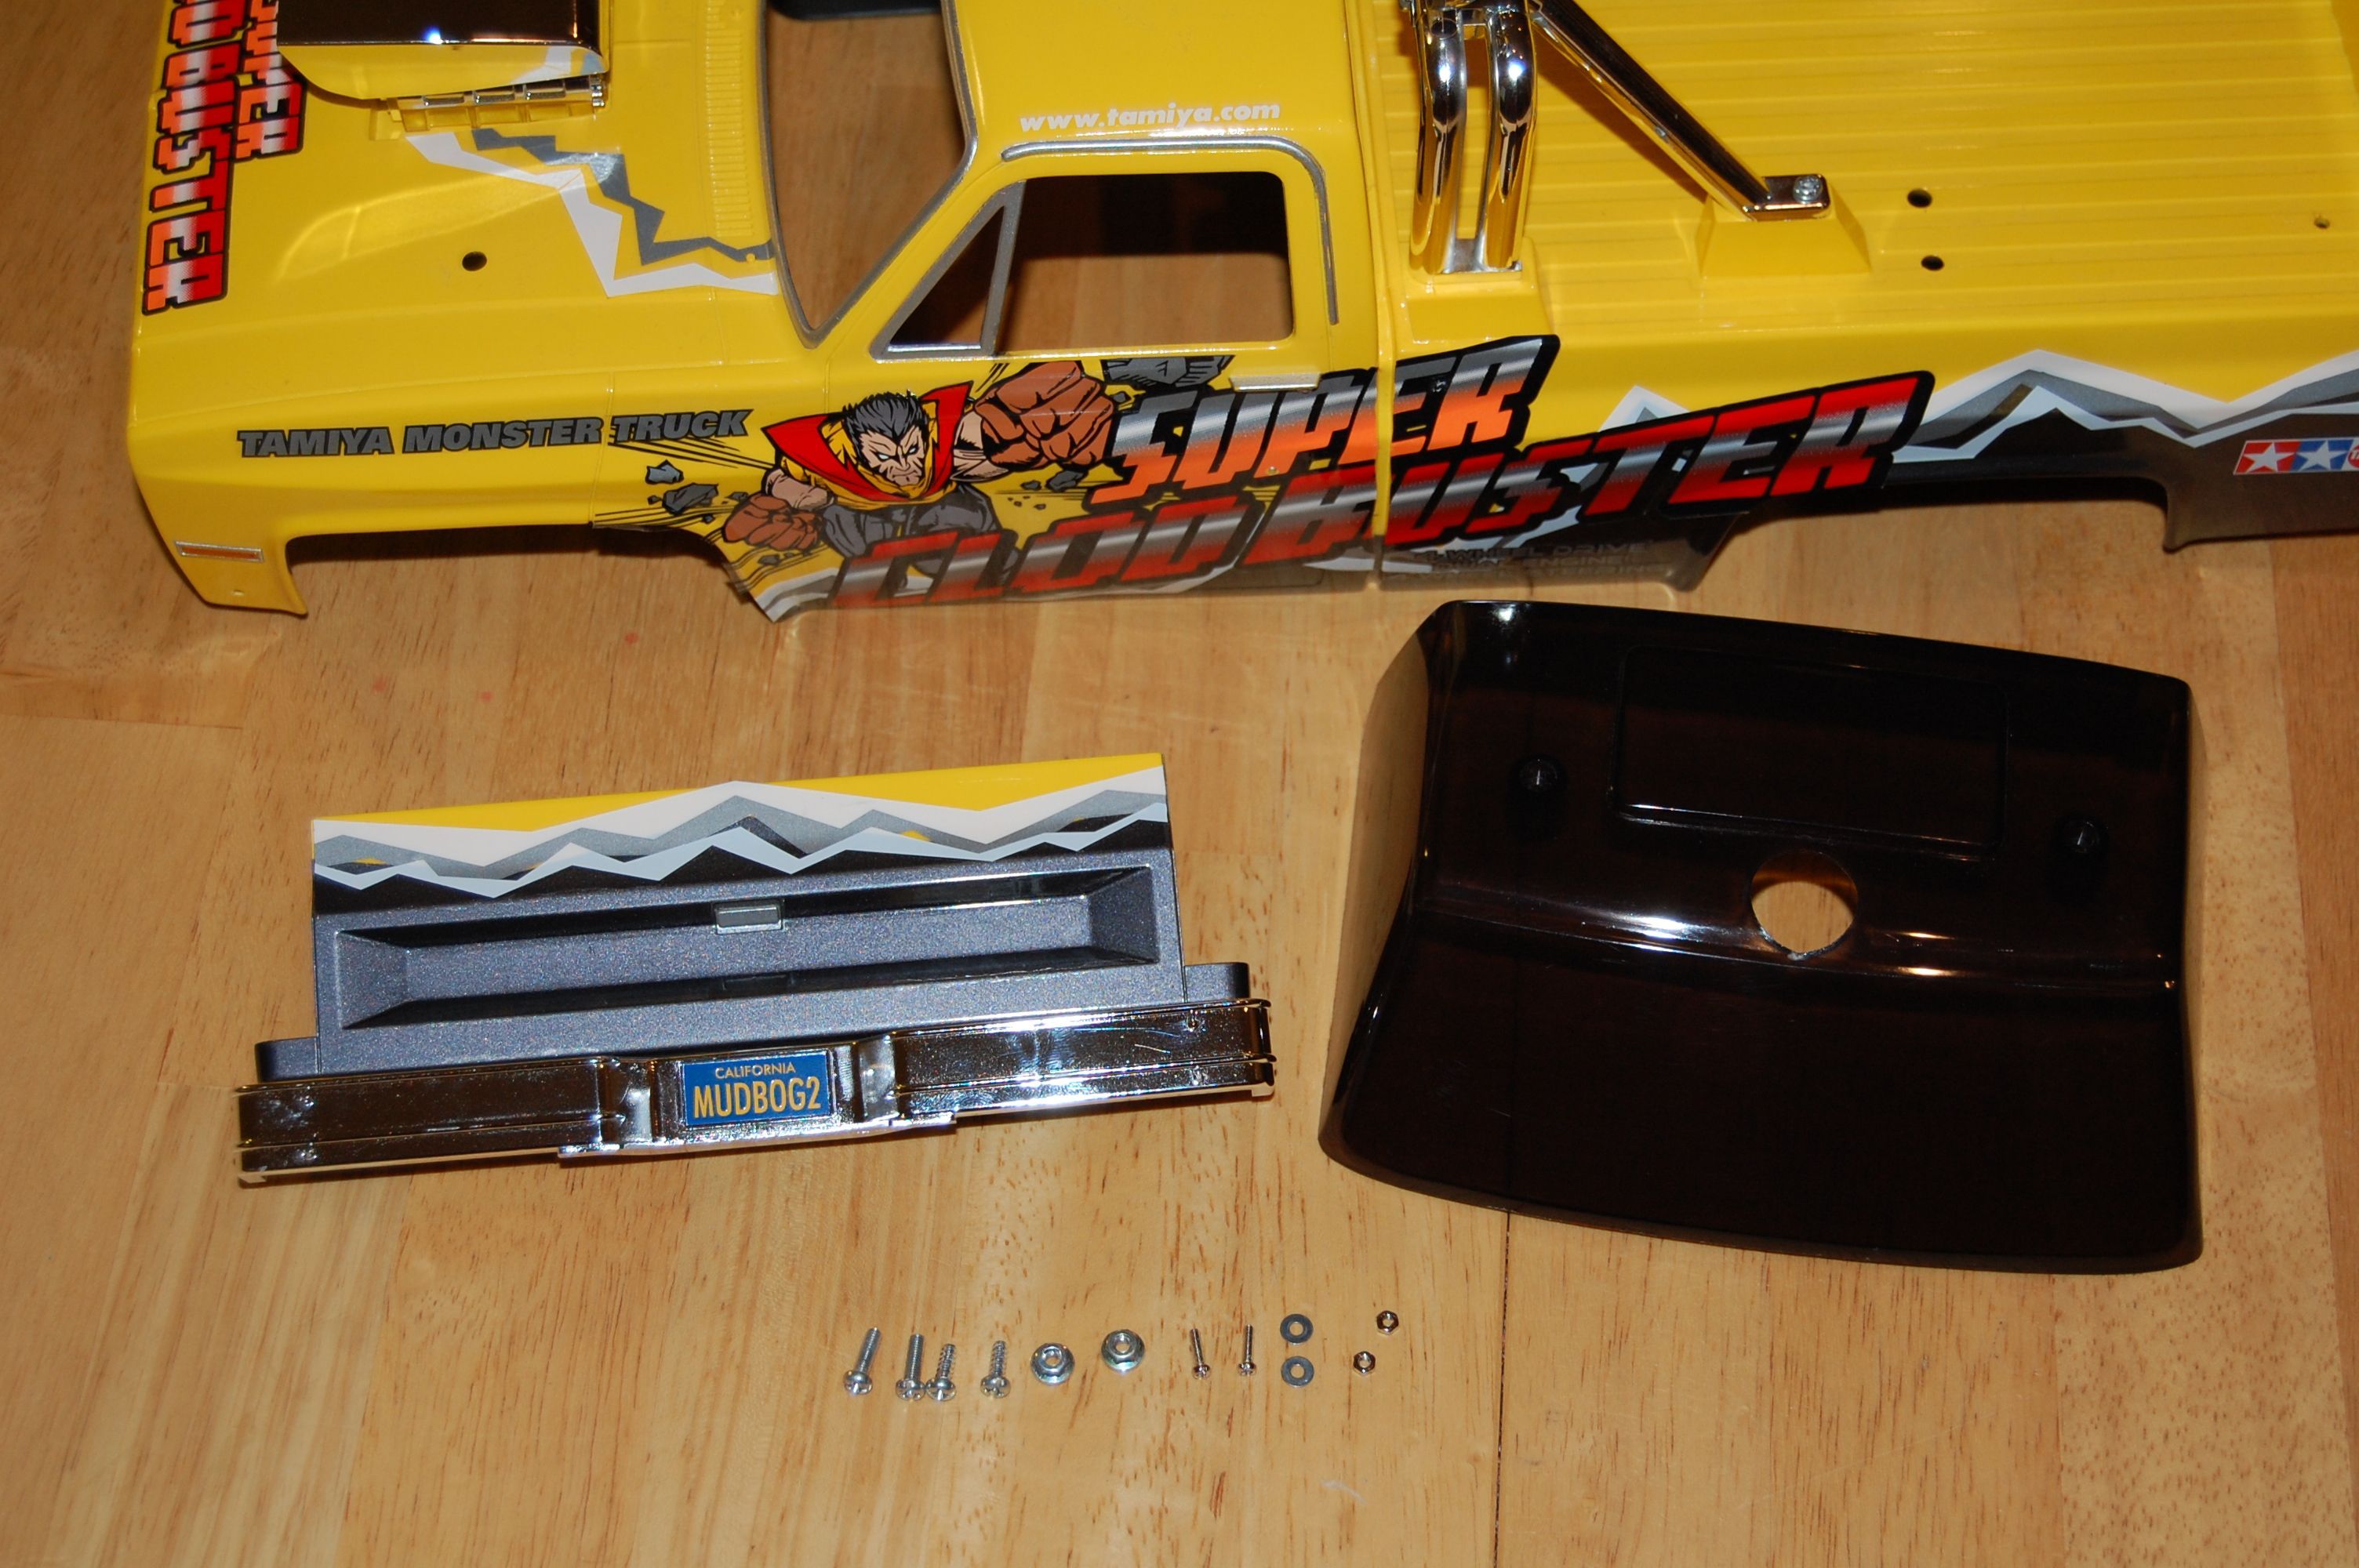
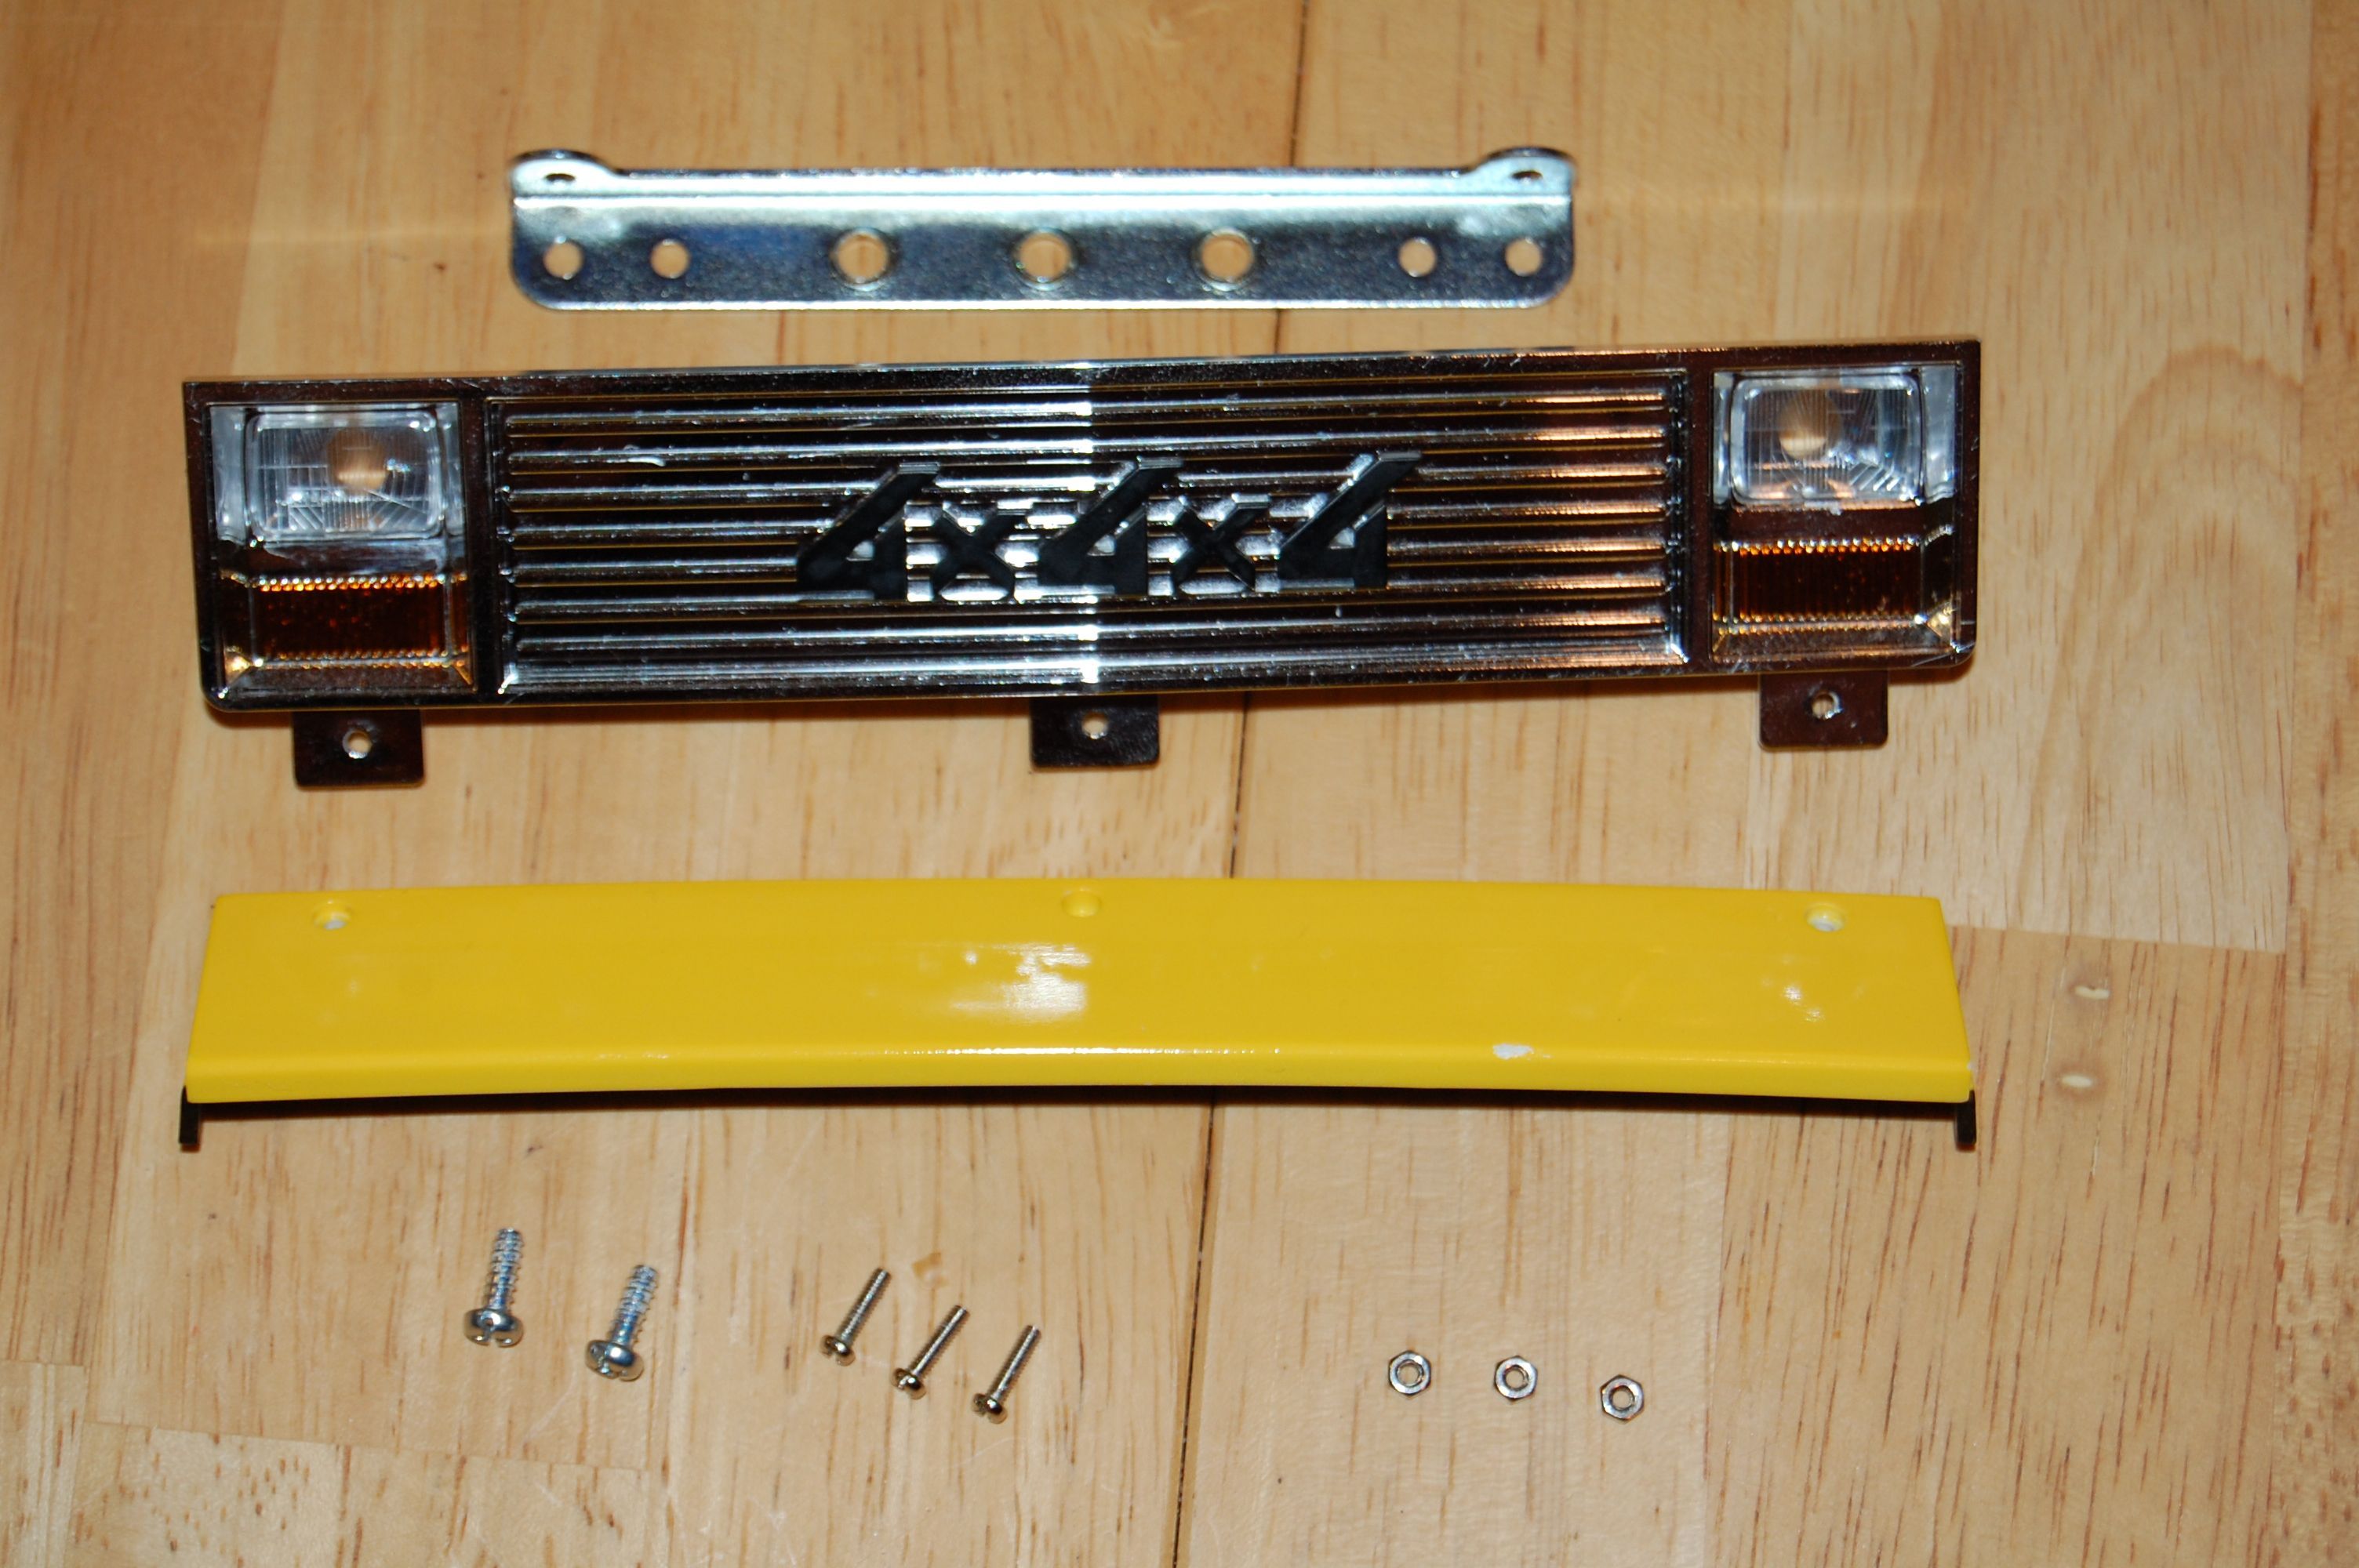
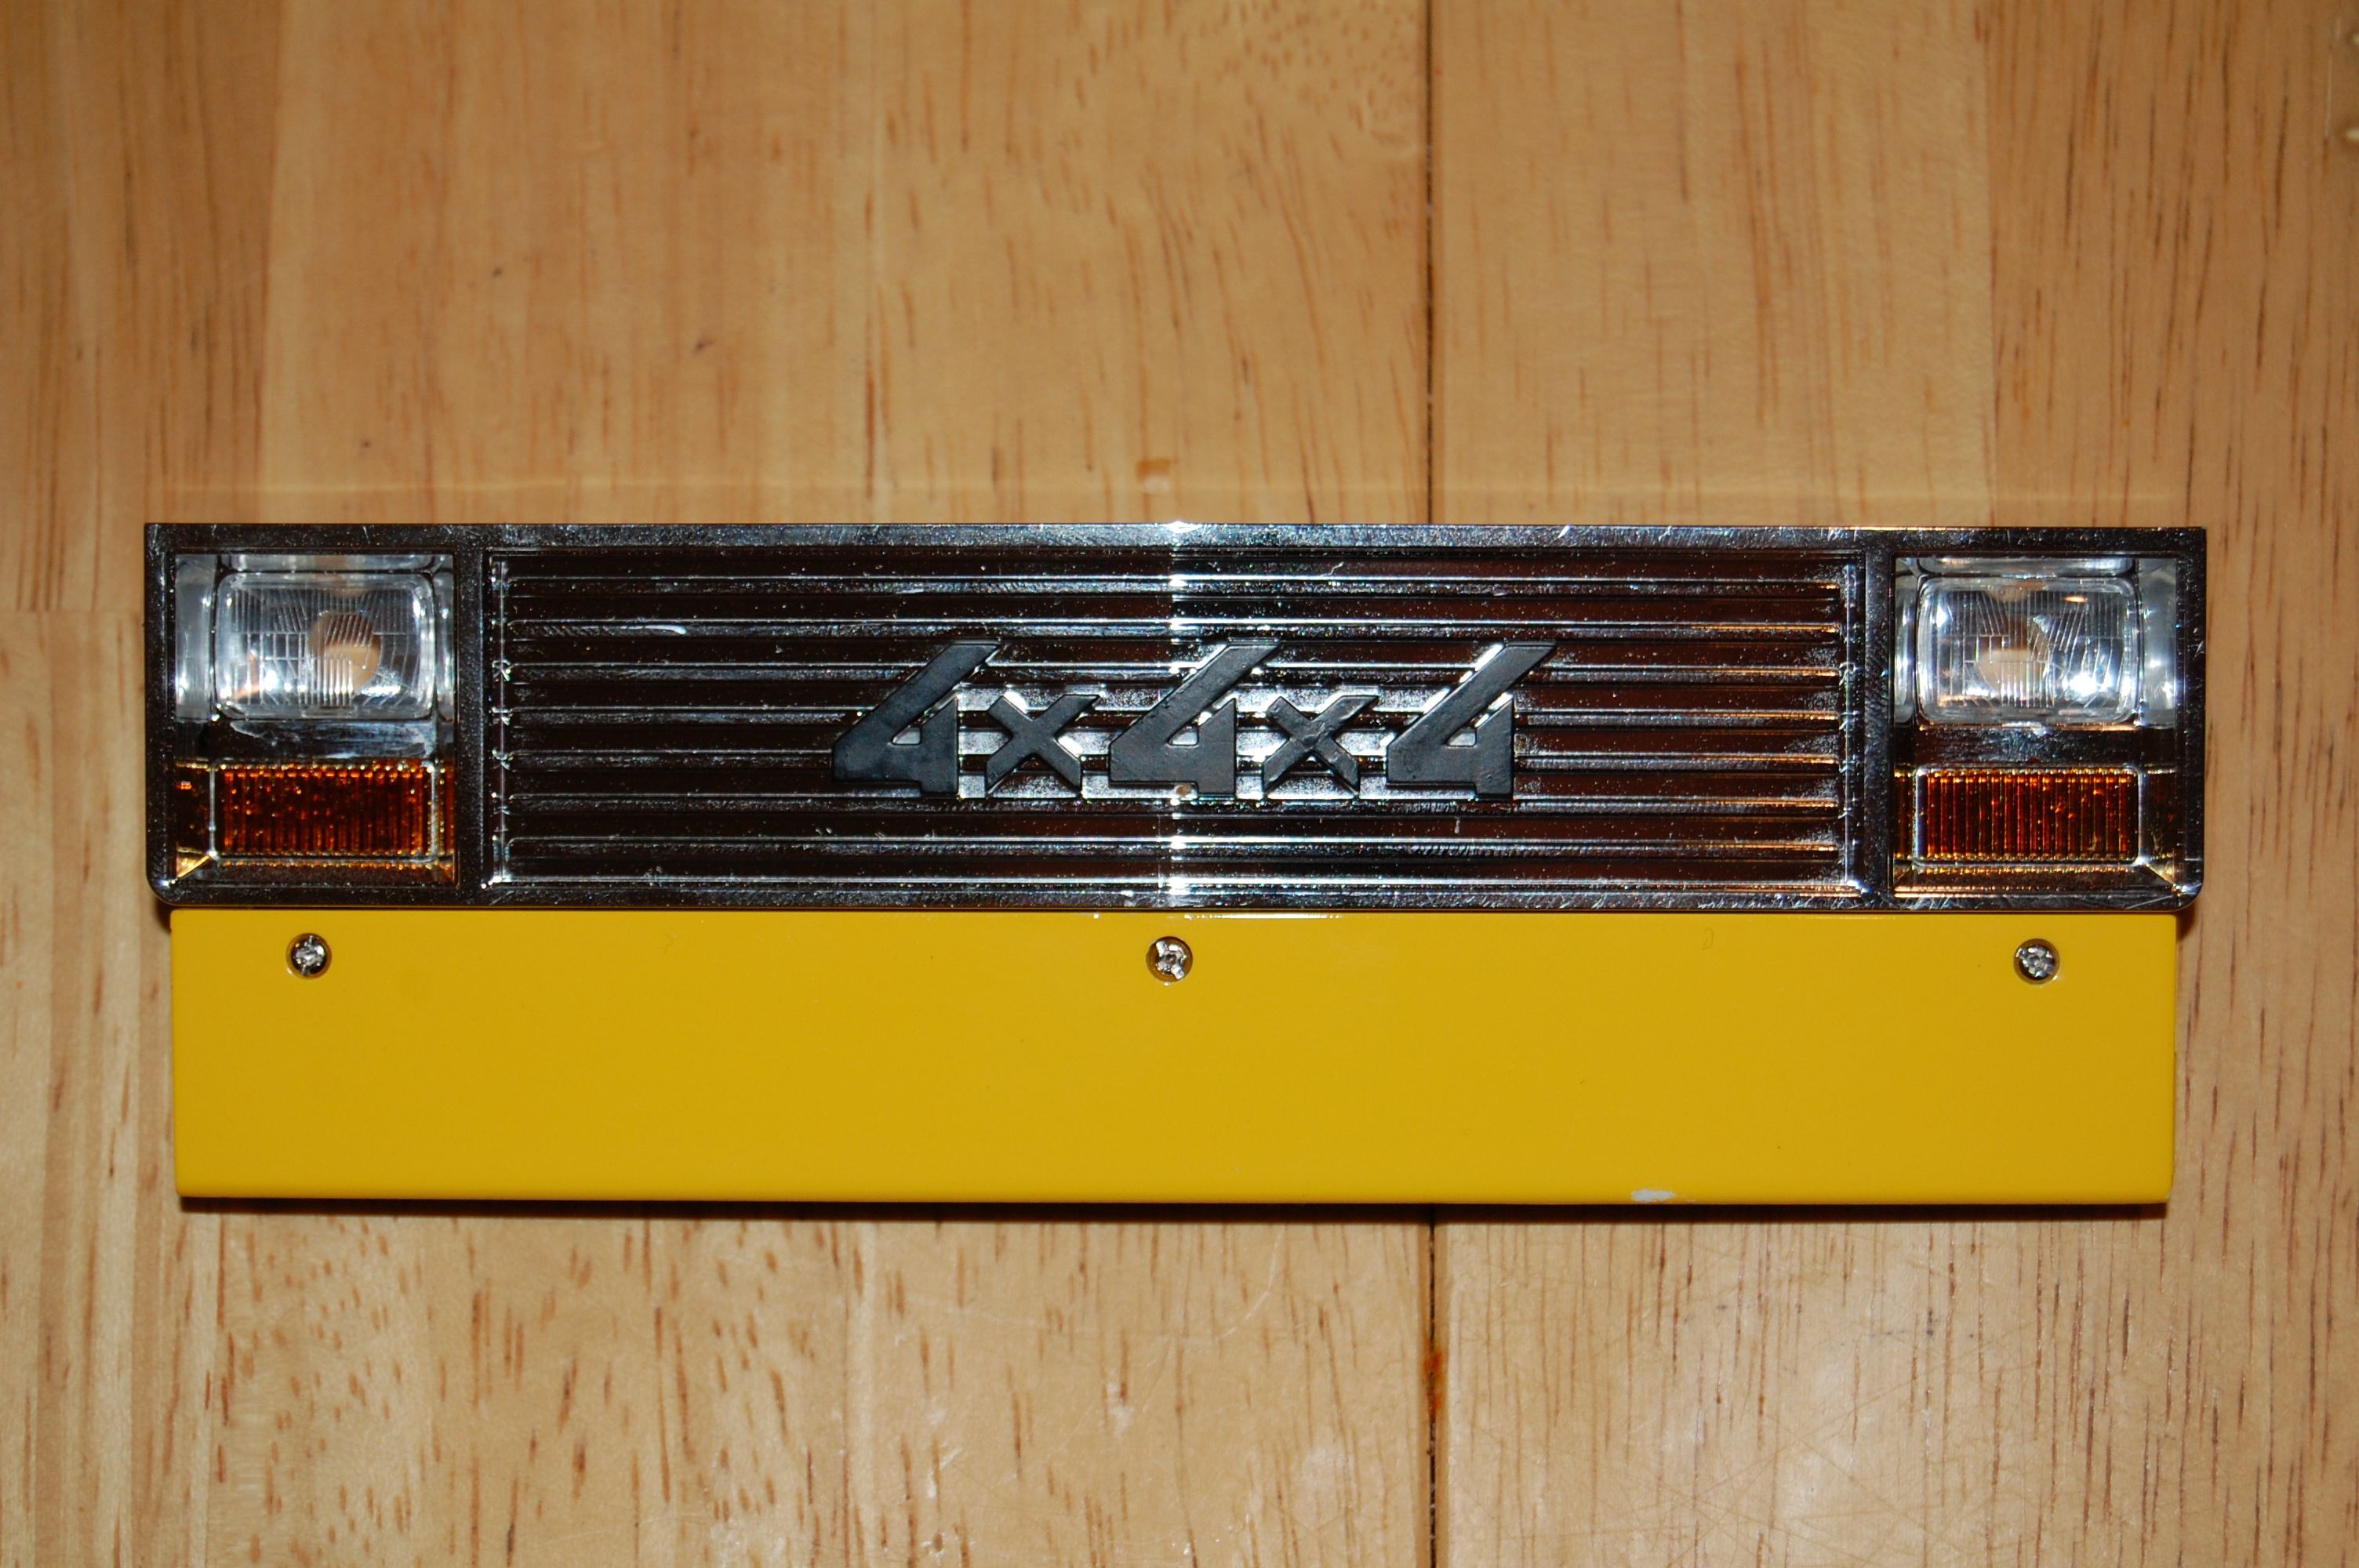
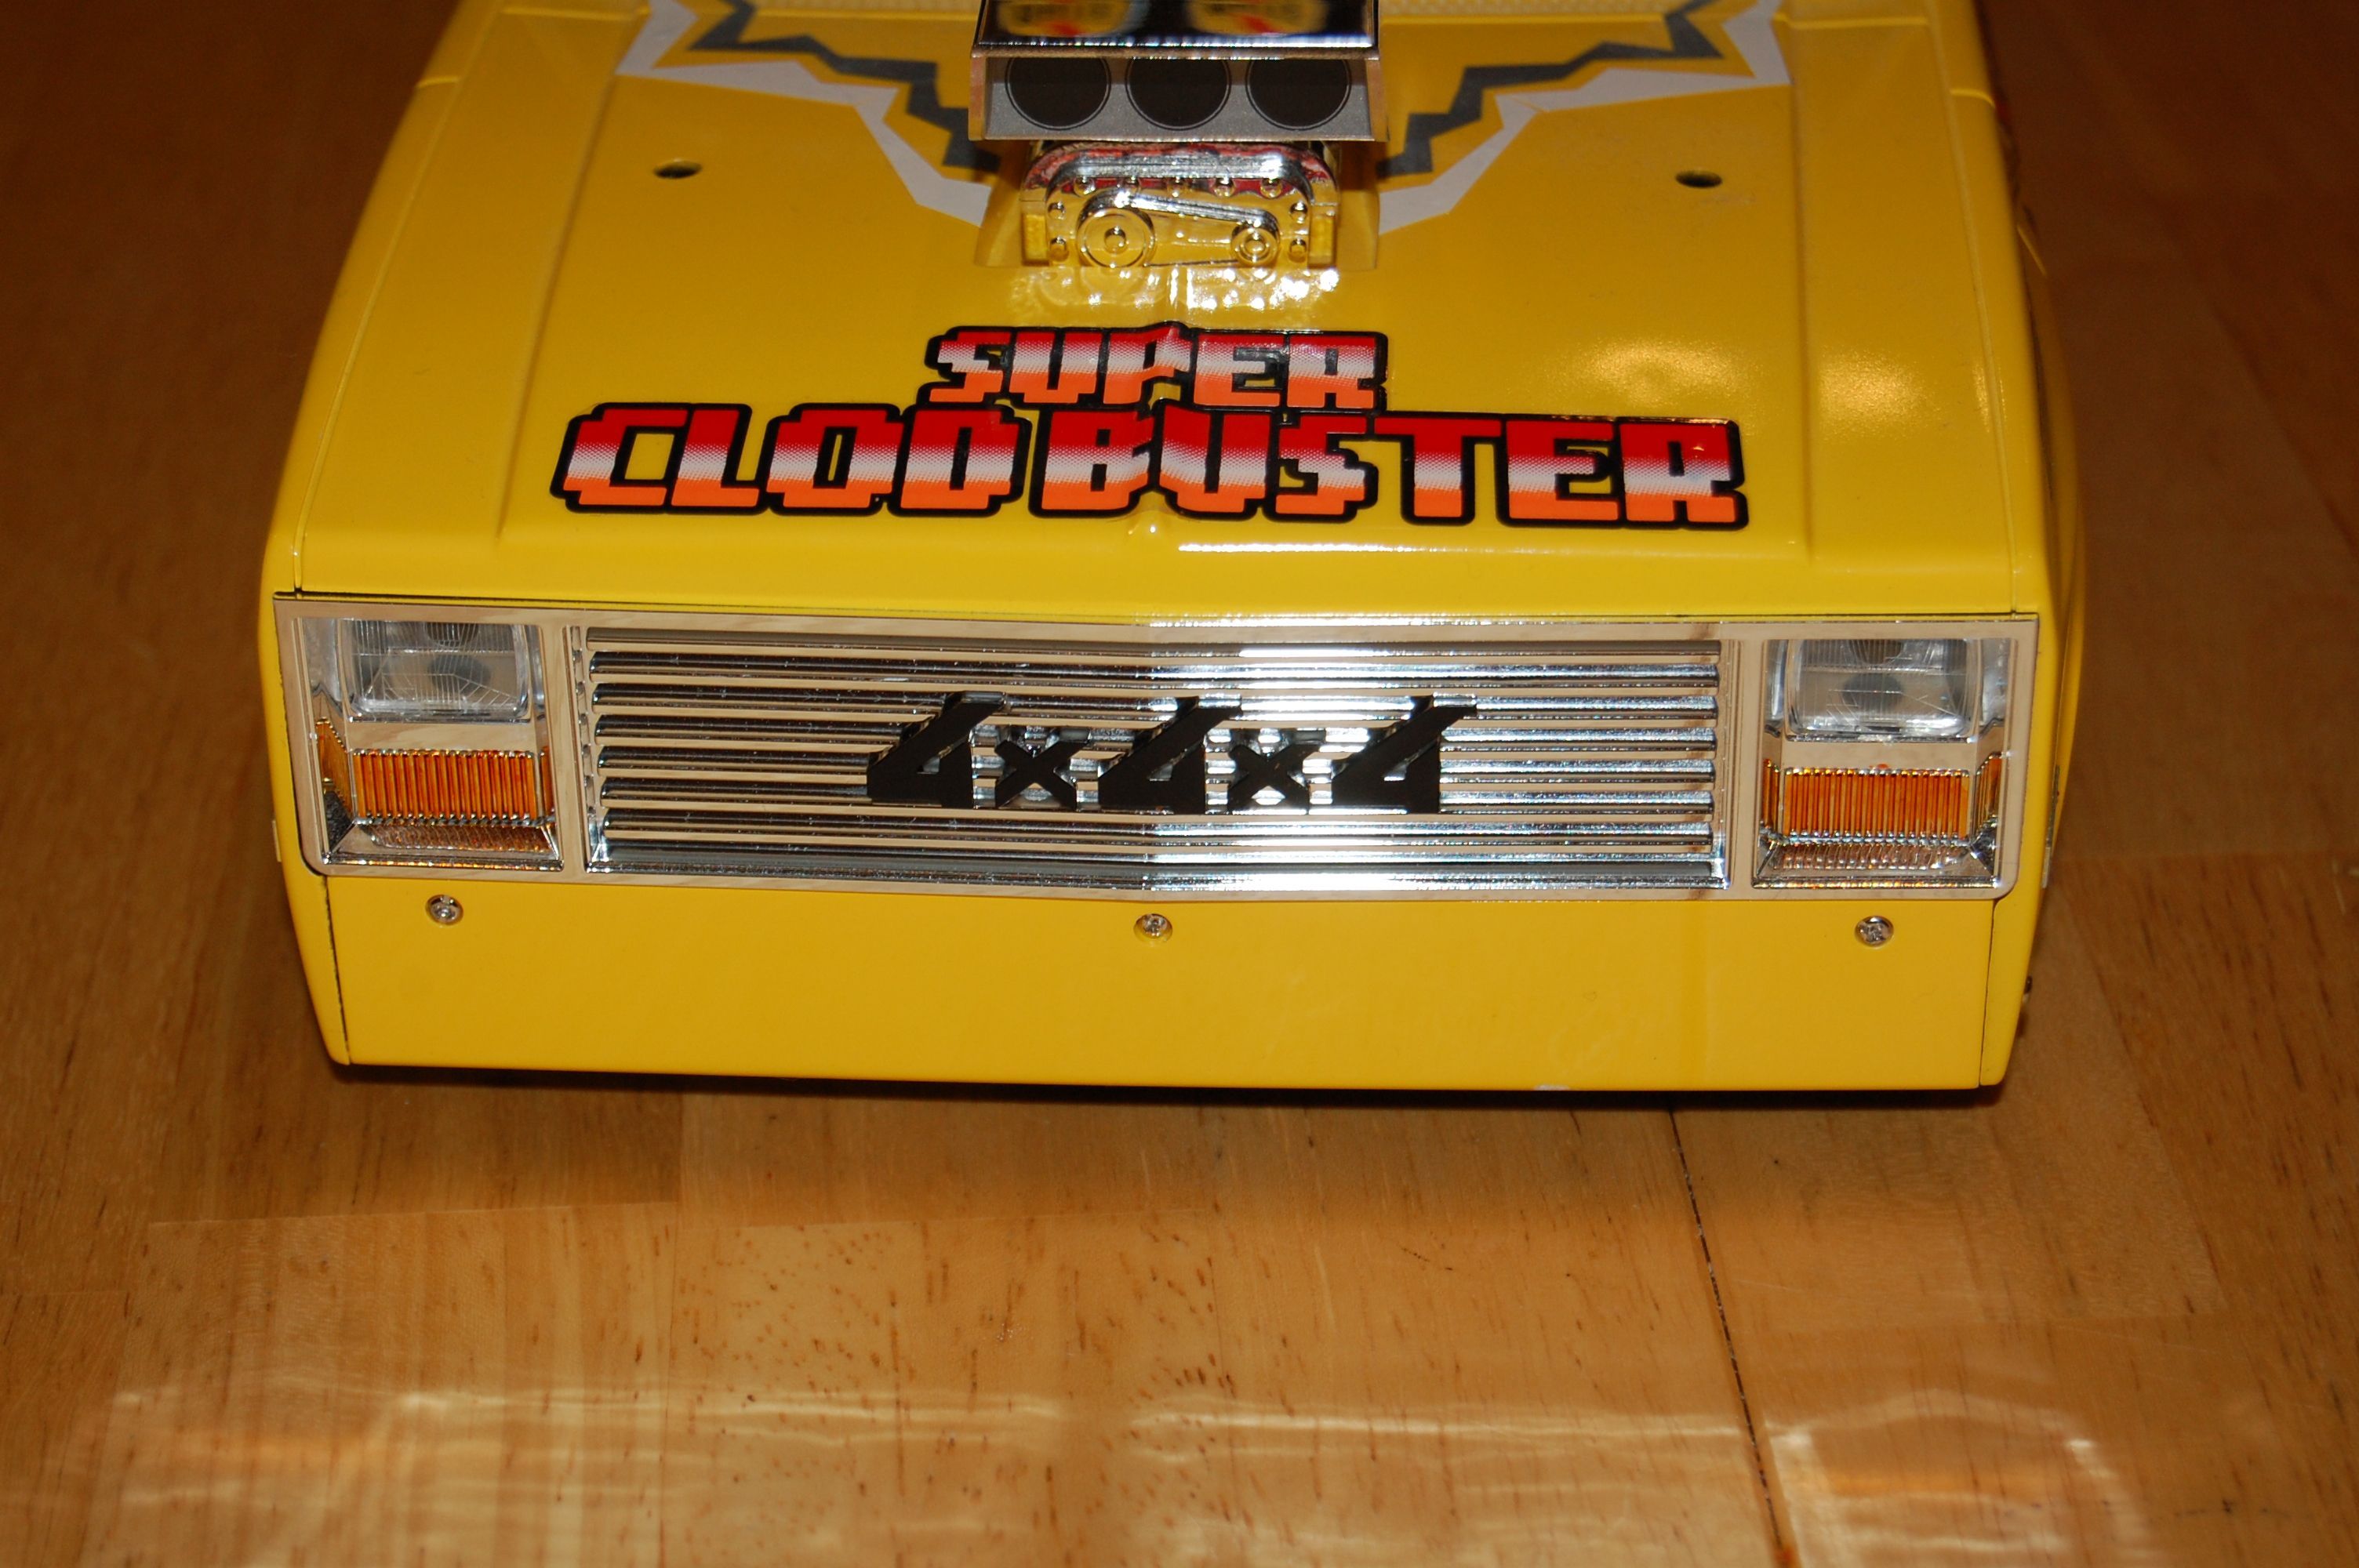
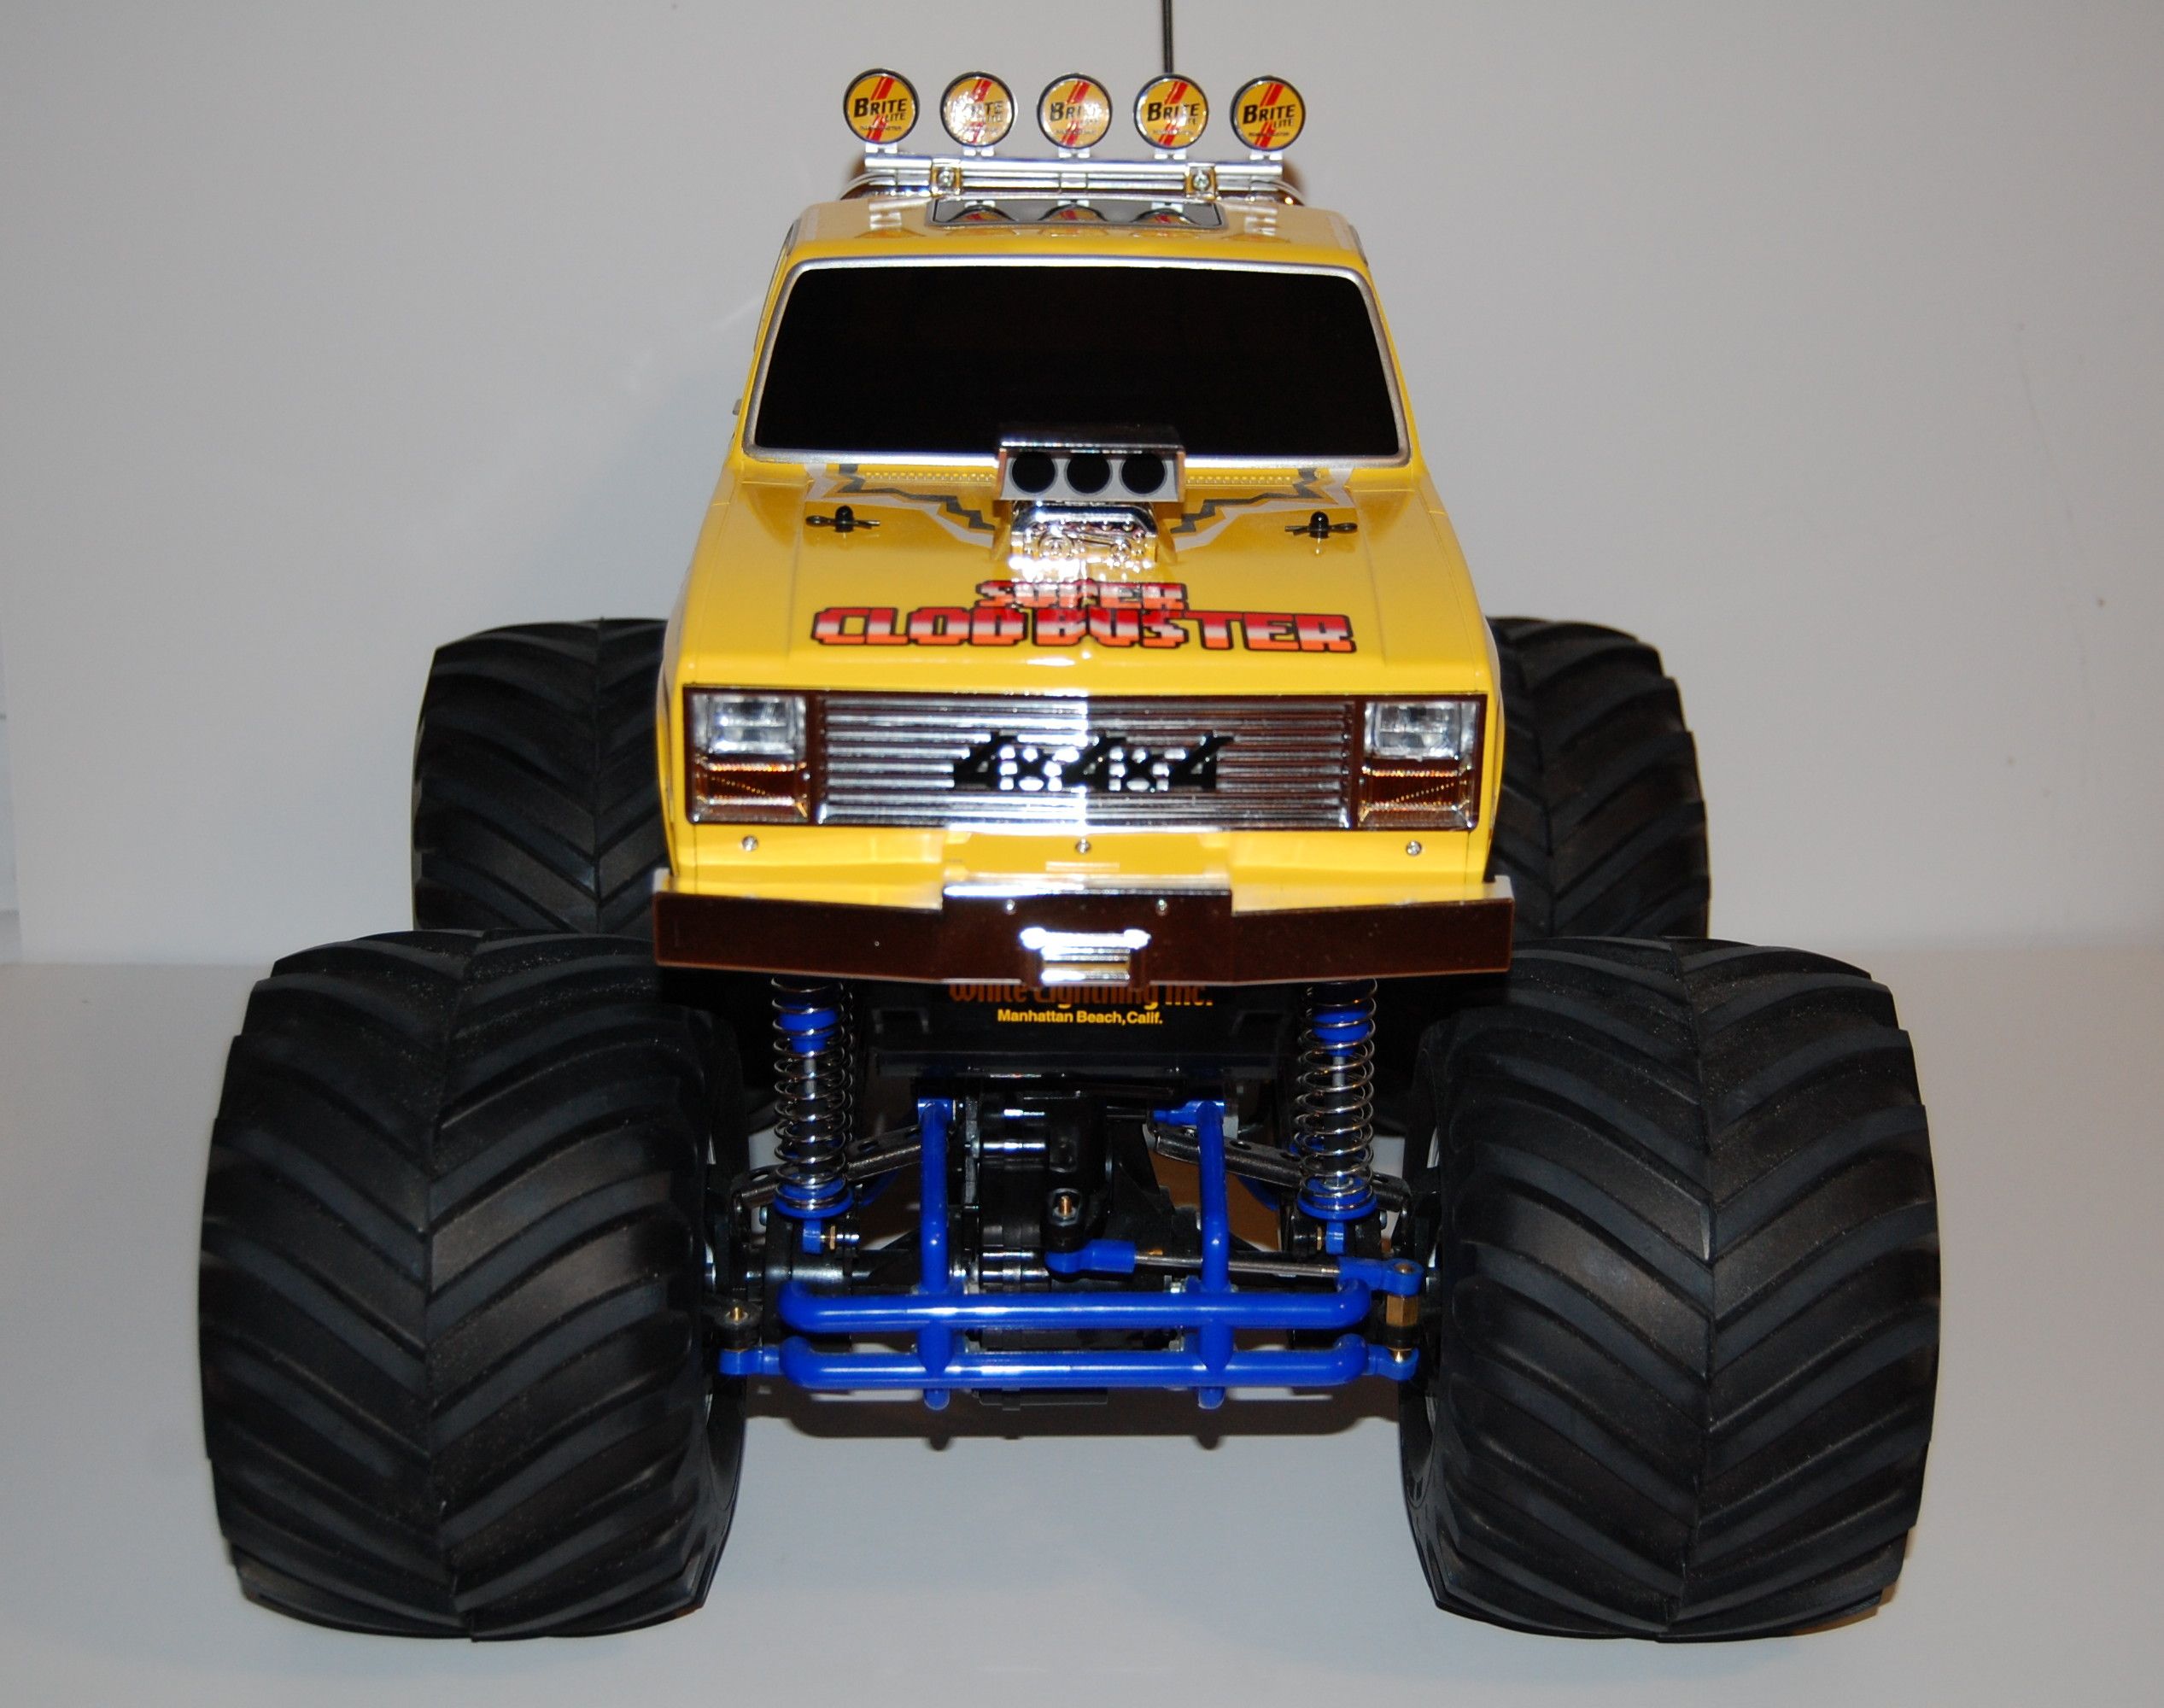
Step 40 – Front Grille Assembly
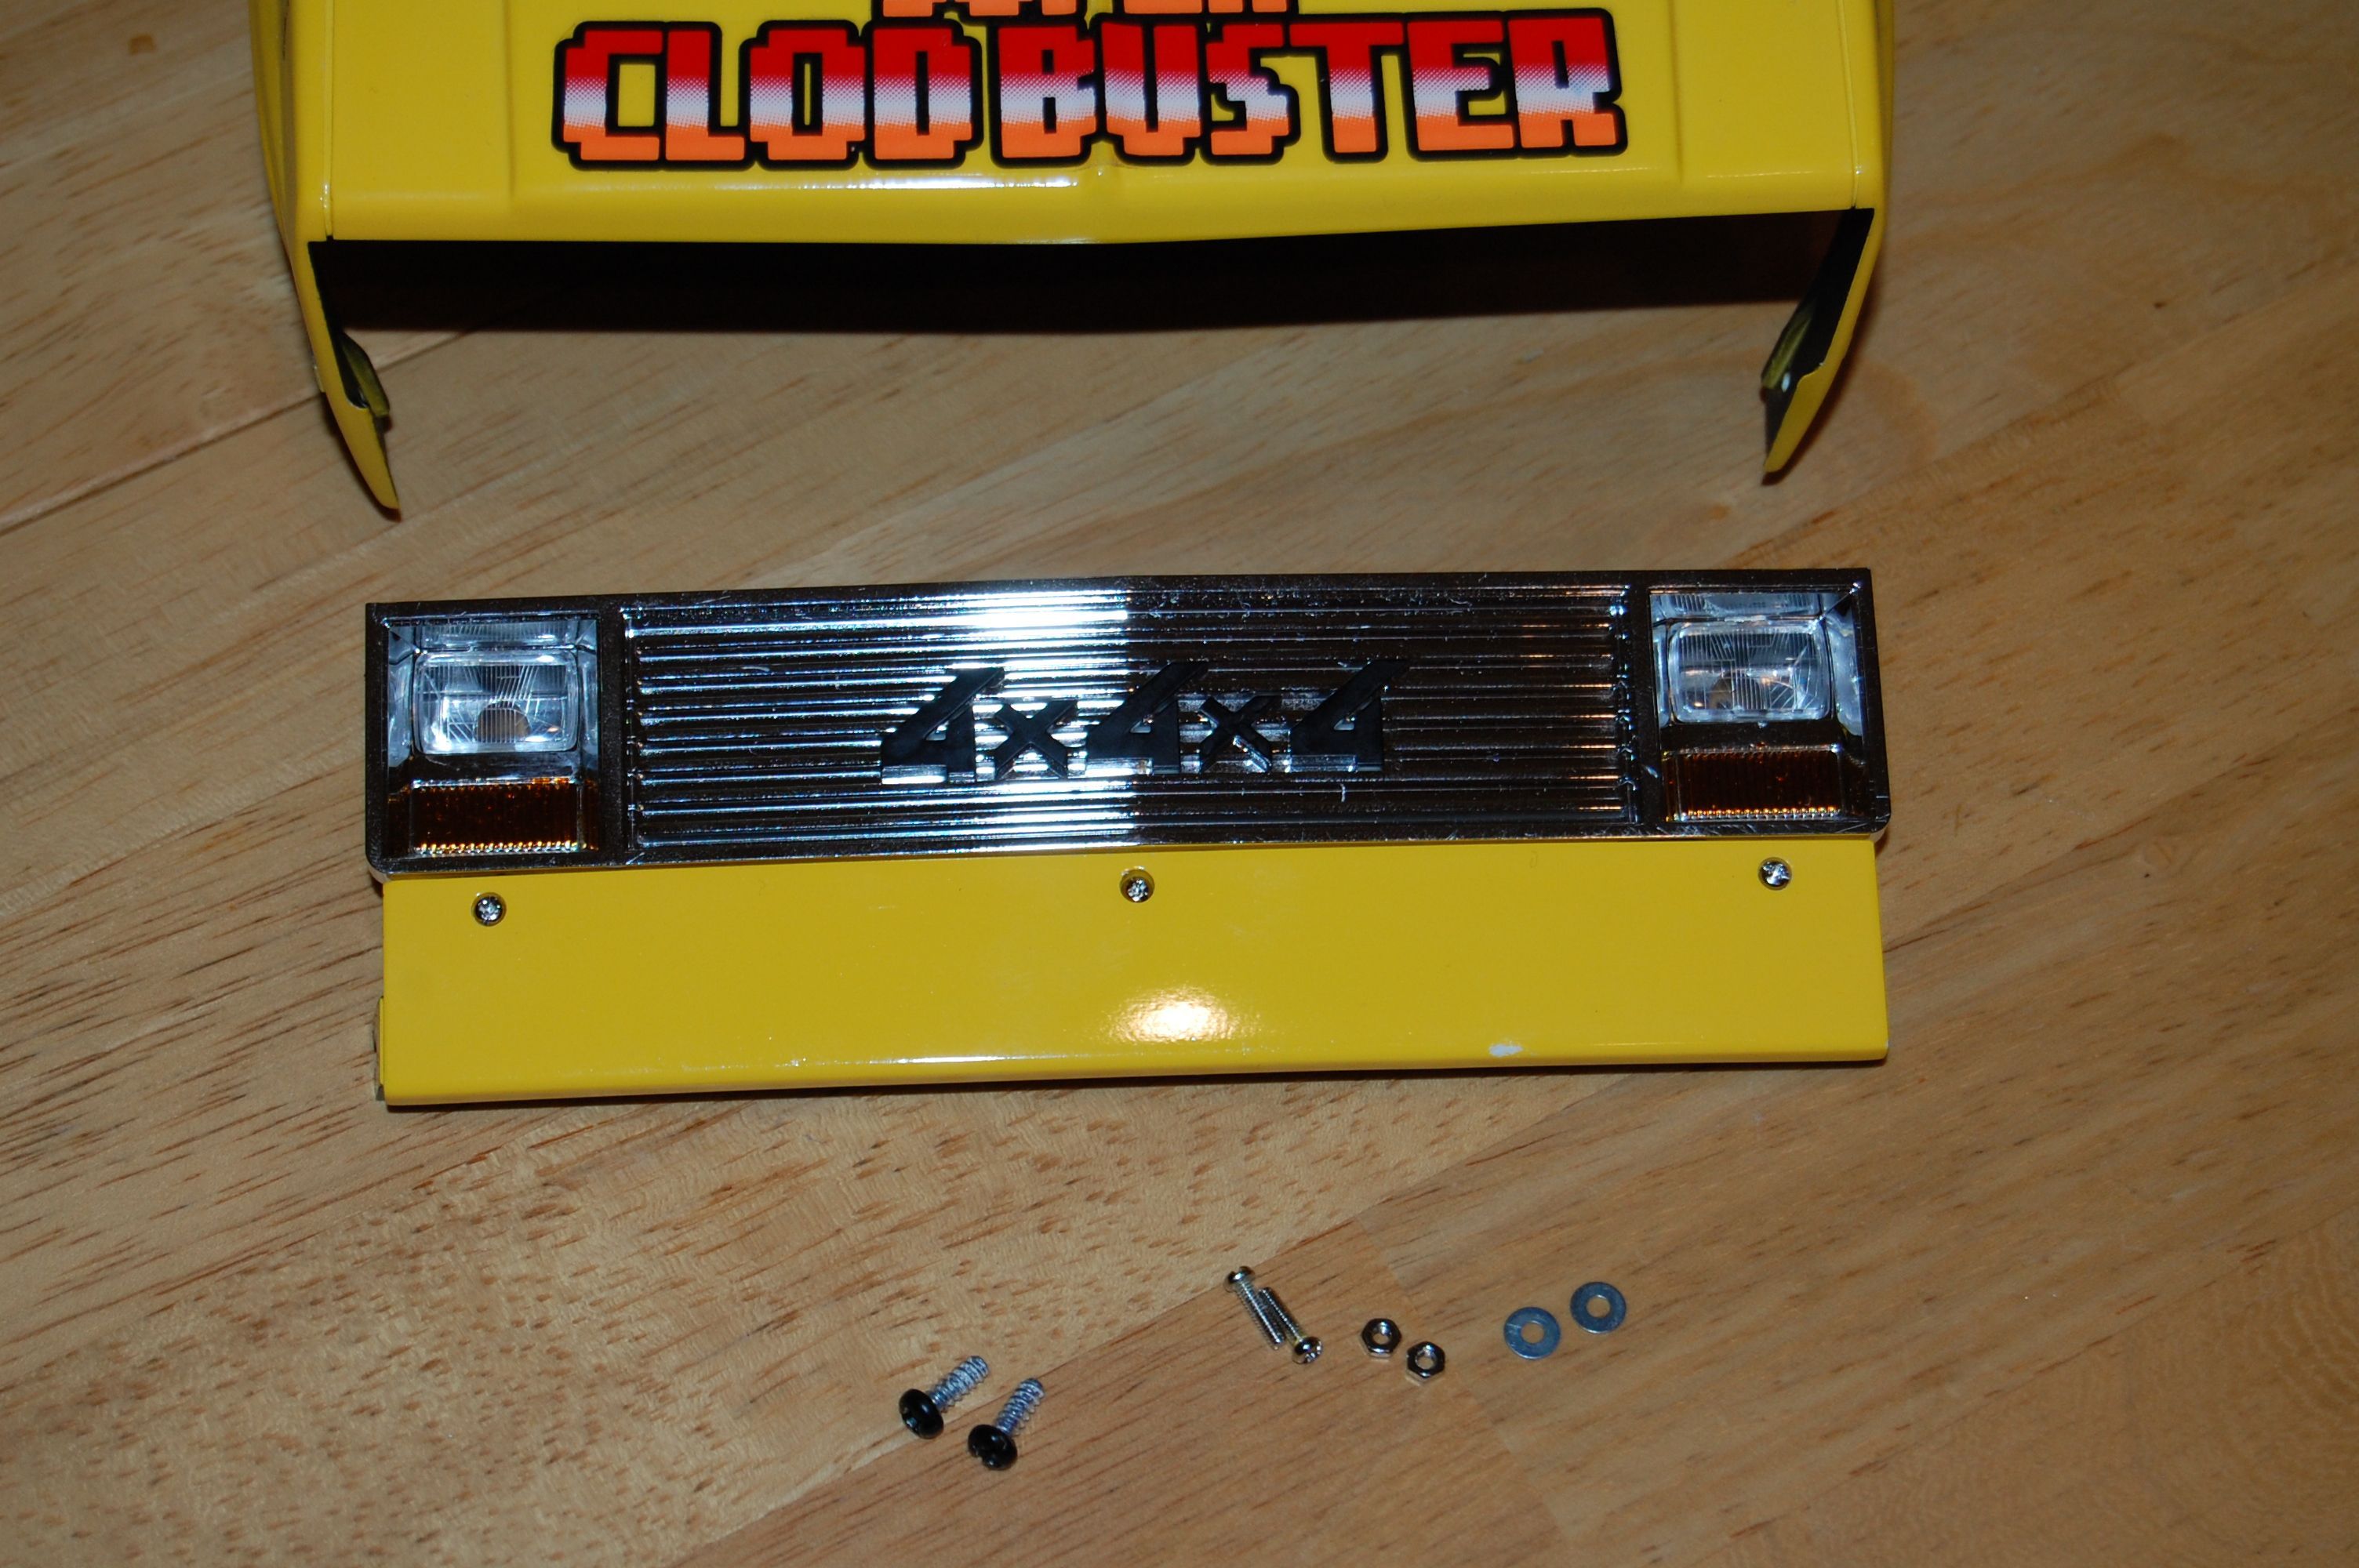
Step 41 – Attaching Front Grille
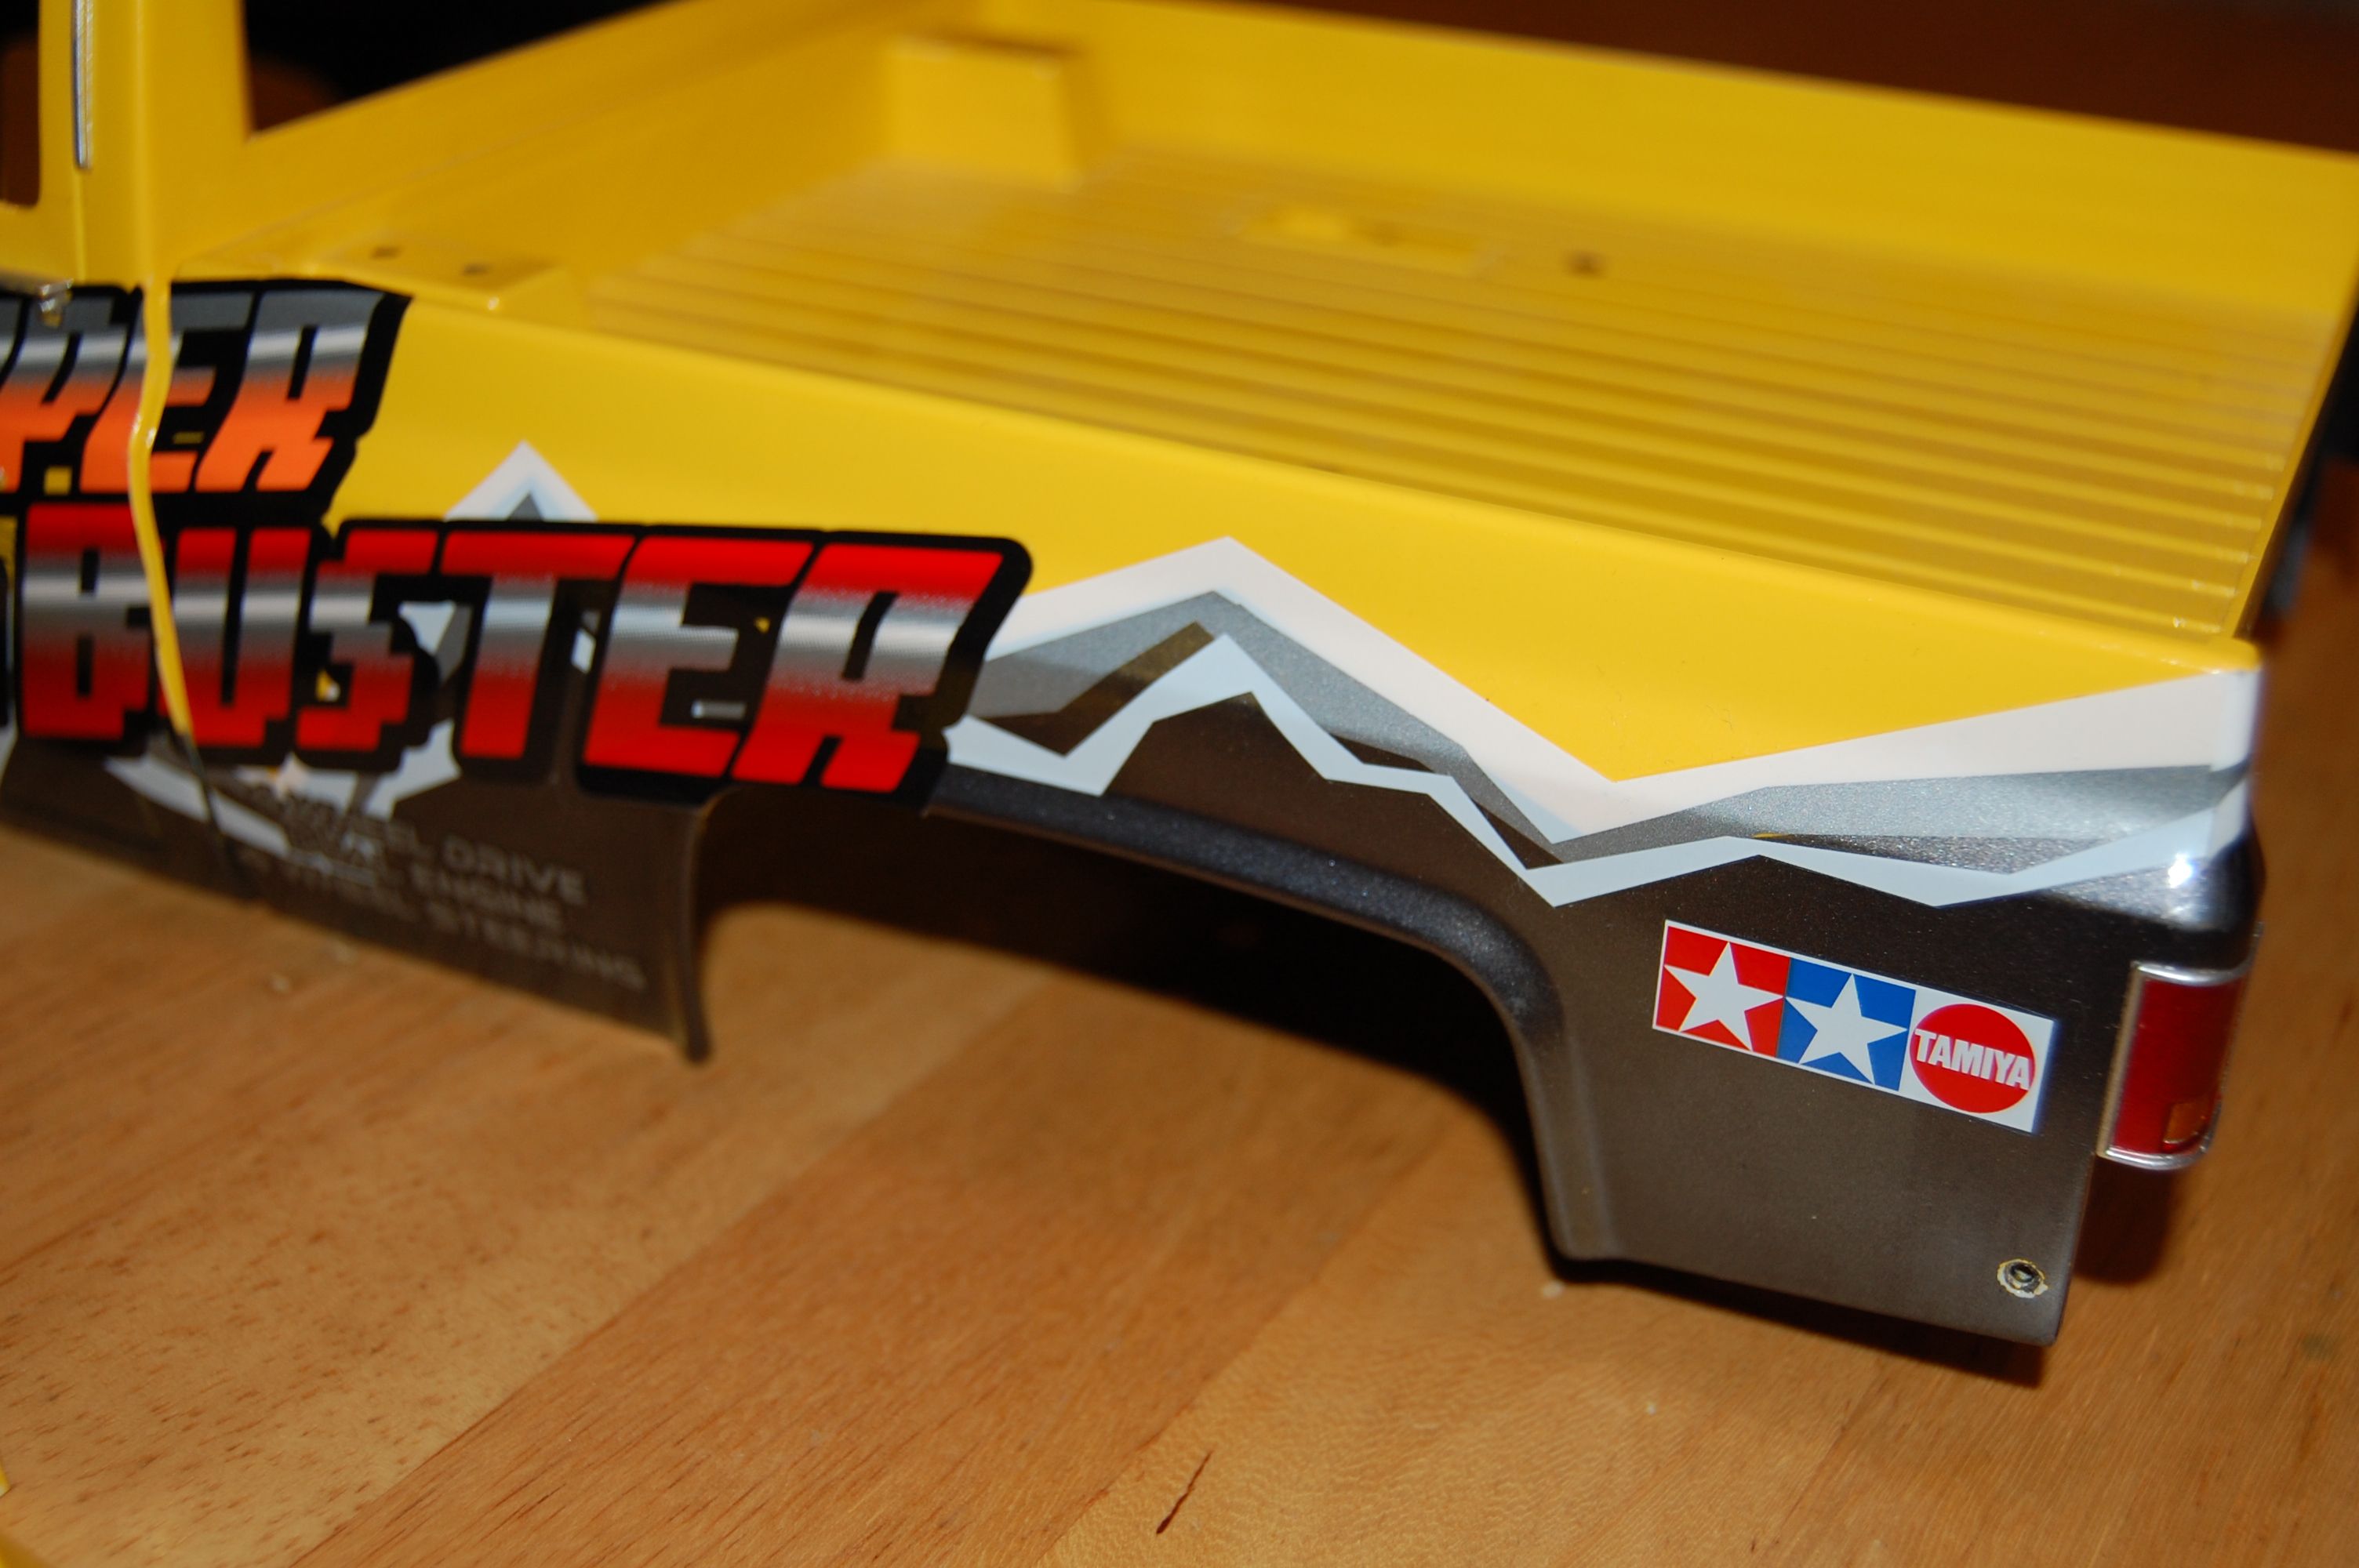
Step 43 – Attaching Body
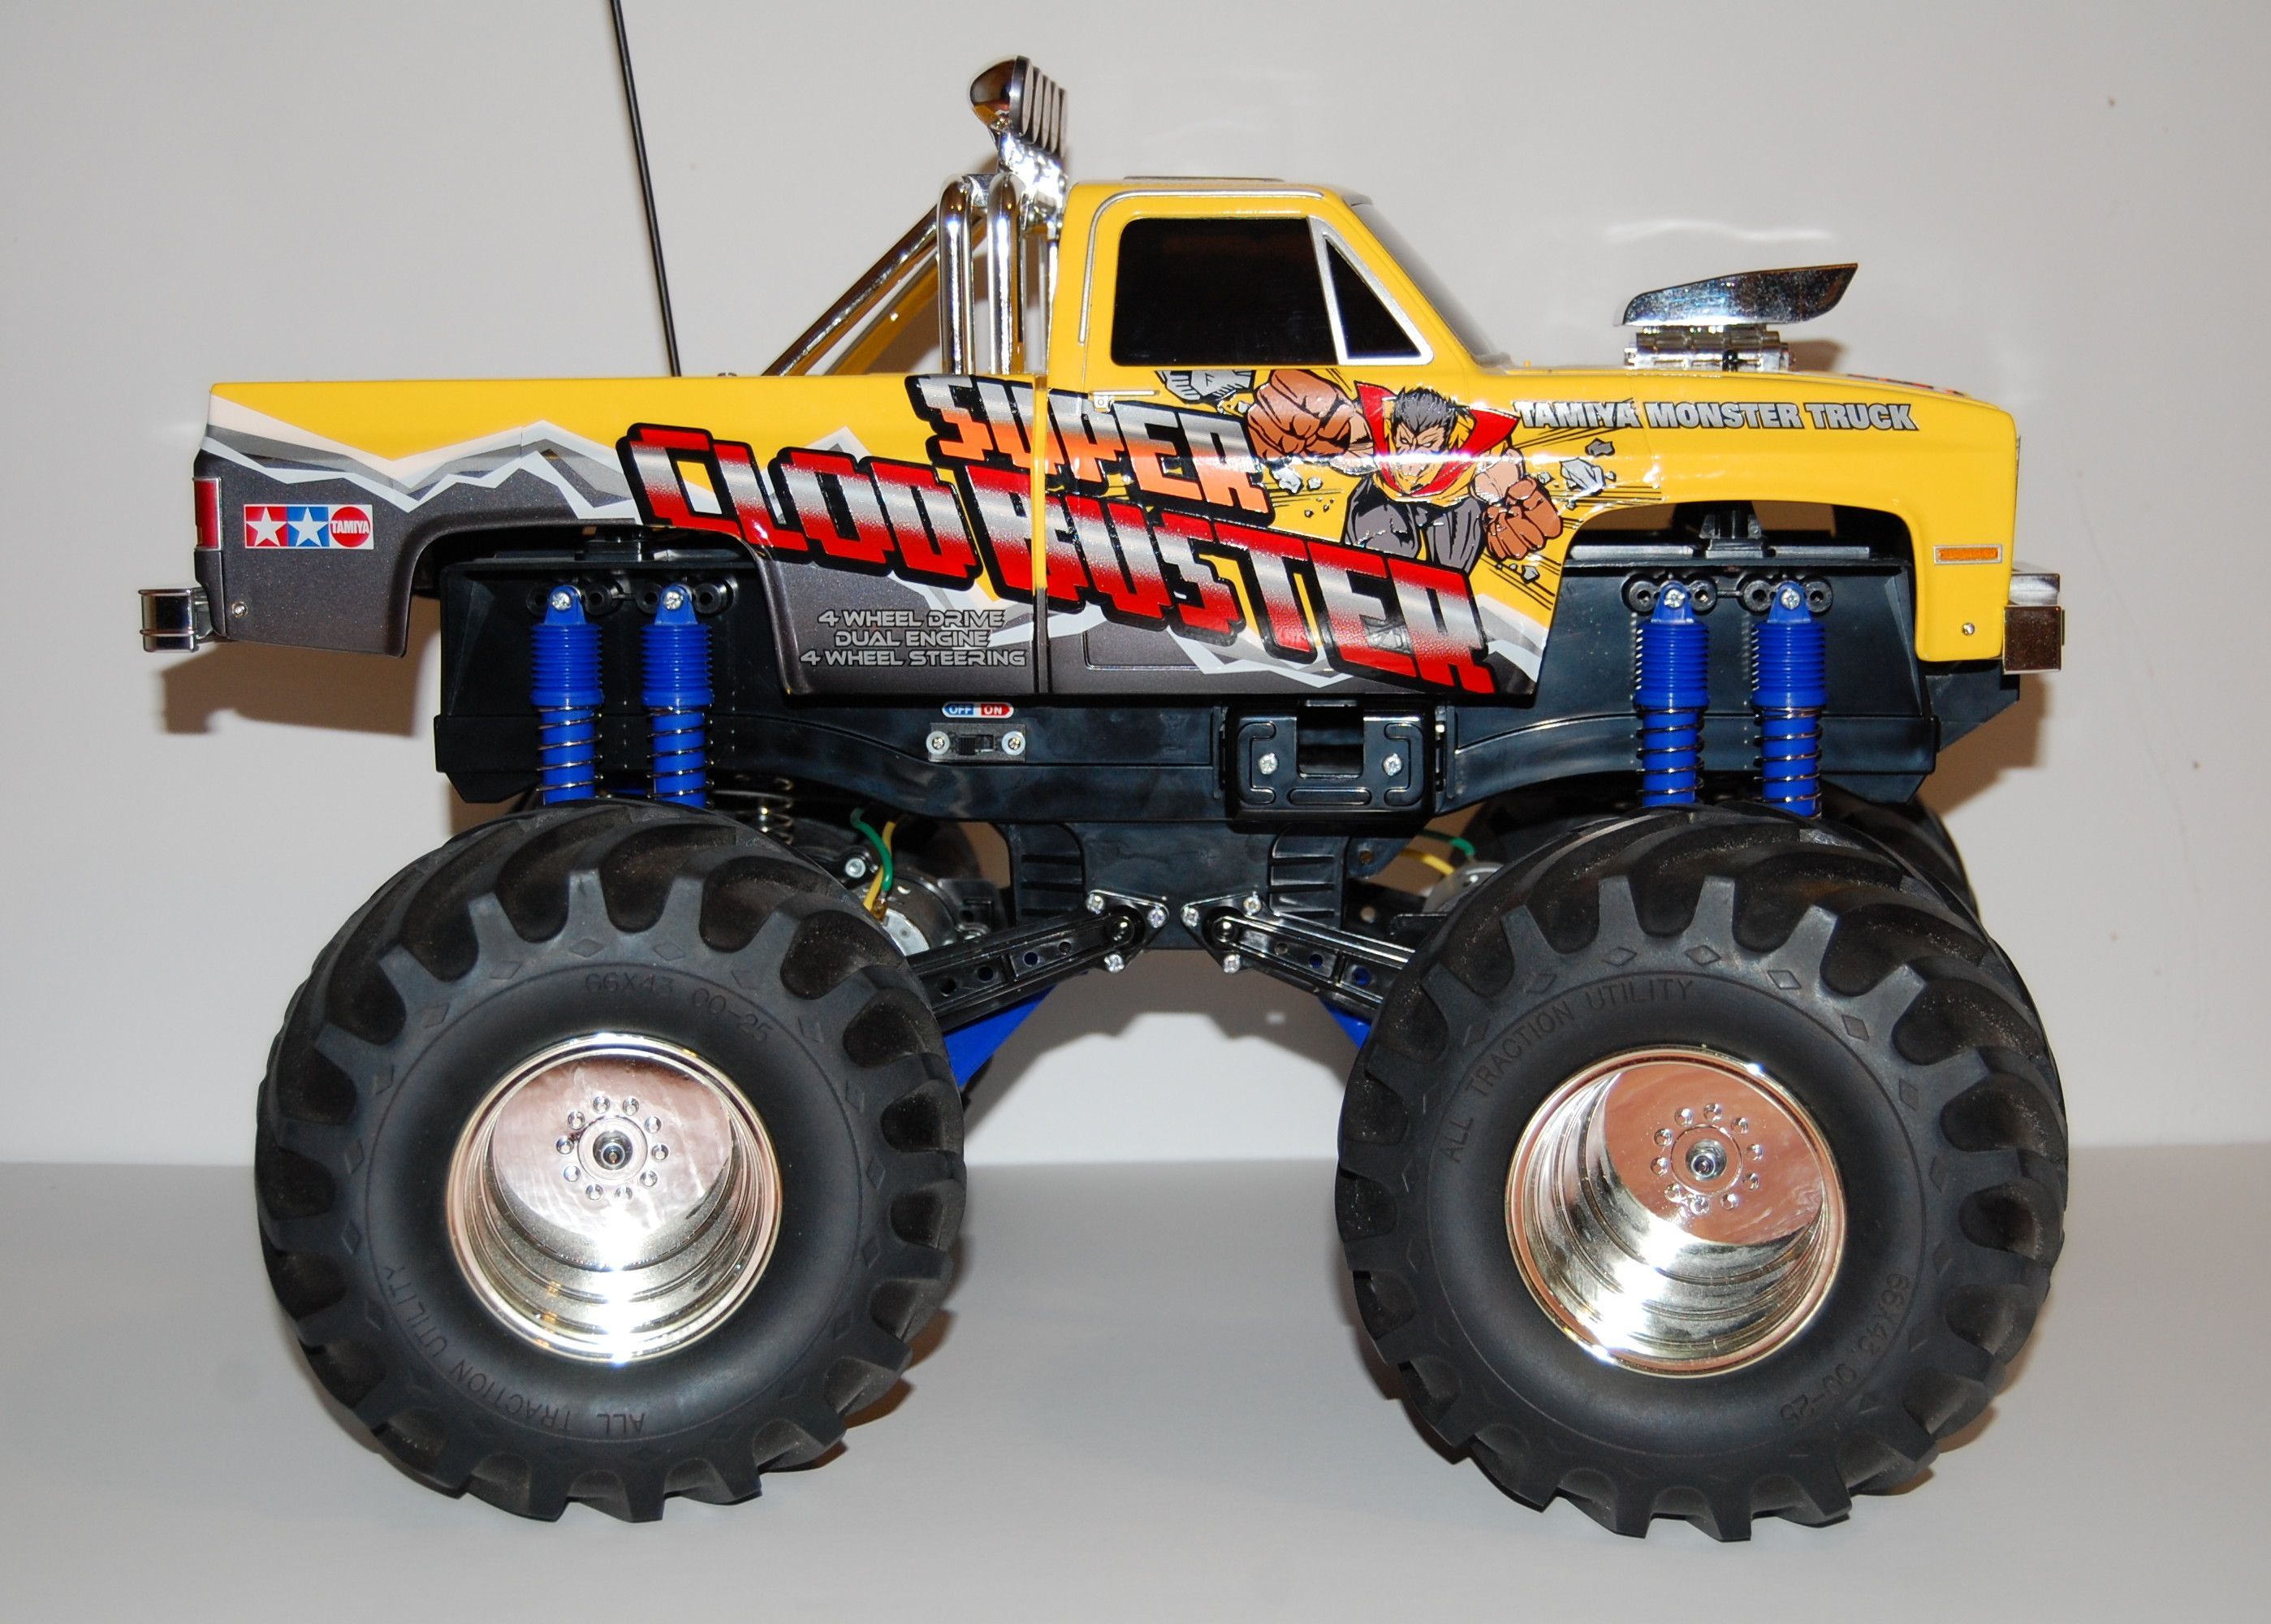
That wraps it up! Hopefully now I can get the nerve to run it with this freshly painted body on it!

Great post! The pictures of the build helped me identify a few items while working on mine.
I do have an issue where the front chrome bumper that attaches to the chassis have screws that pinch and damage the front bottom painted piece of the body (under the chrome front).
Any tips on that? My only though was to reverse the nut that goes on top and put it on the bottom but it’s too wide so I would need to source a thinner set.
Any thoughts or tips would be appreciated. Thanks again!
What if you put washers on the screws and insert them from the top and put the nuts on from the bottom? That might clear the body.
I love the color combination. Do you by chance know the color codes for the yellow and gray?
Thanks! It’s been a while since I painted it, but I think it was Tamiya Yellow (TS-16) and Gun Metal (TS-38).