
In the first part of this series of posts, I built the chassis. In this part of the build, I’m starting work on the transmissions.
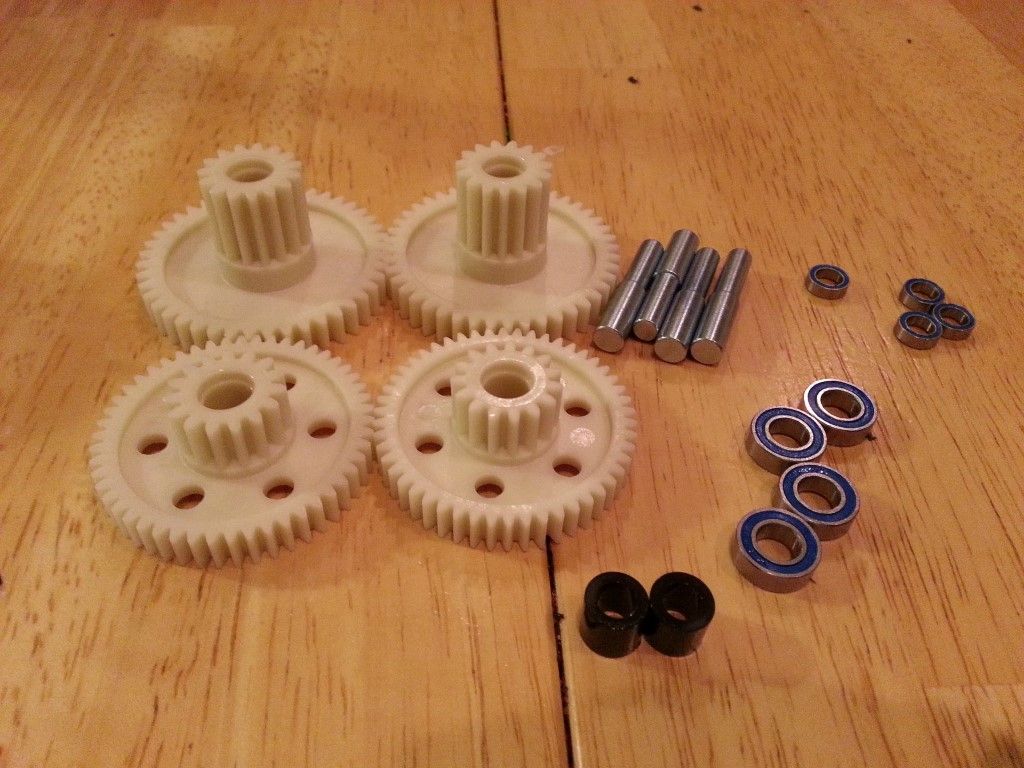
Step 9 – Axle Tube Assembly
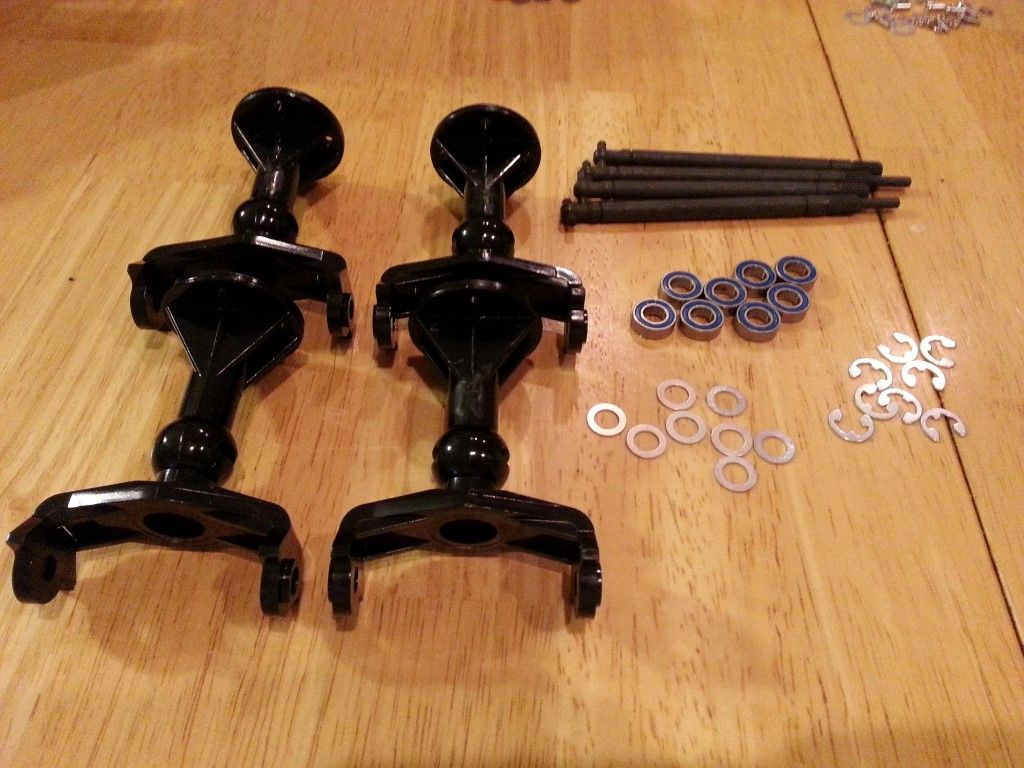

I assembled both gearboxes at the same time. Starting with the axle tubes, I installed a set of full ball bearings. There are two long tubes and two short ones.
Step 10 – Attaching the short axle tubes
The axle tubes are bolted on to the transmission halves. The short axle tubes are attached to the larger gearbox halves (B10).
Step 11 – Attaching the long axle tubes

The long axle tubes are attached to the smaller transmission halves (B9).
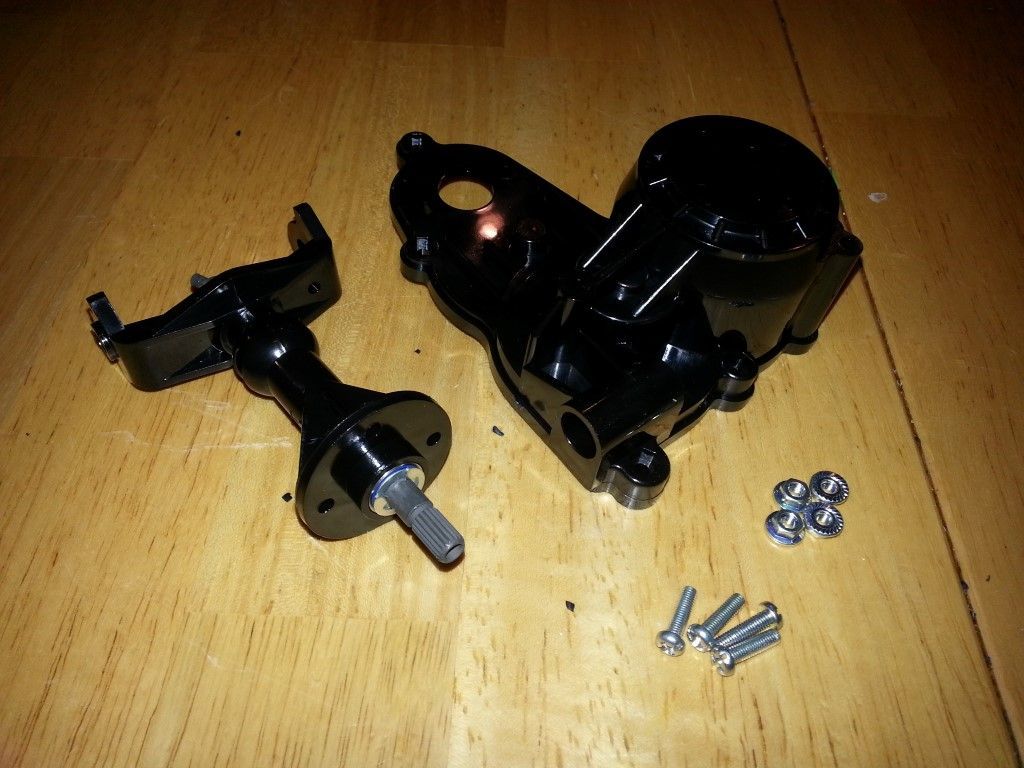
Step 12 – Attaching counter gears
Again, I’m replacing the bushings with sealed ball-bearings.

There are two counter gears in each gearbox.
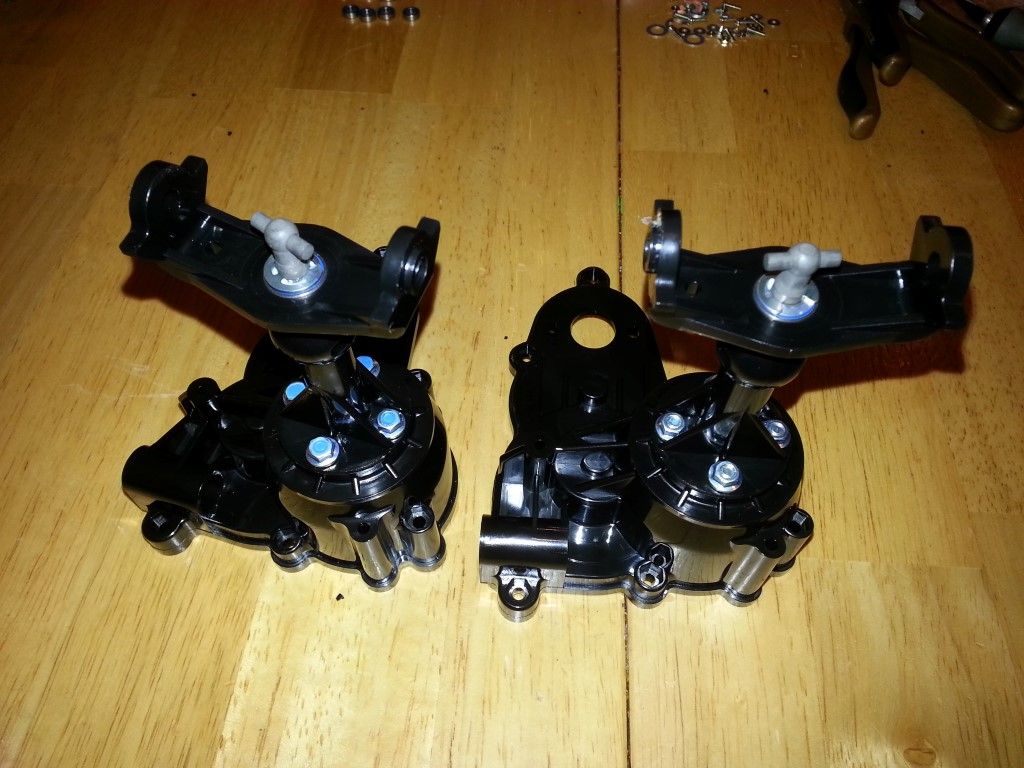
Step 13 – Attaching the differential gears


I used the white Tamiya grease that was included in the kit.
Step 14 – Assembling the gearbox halves
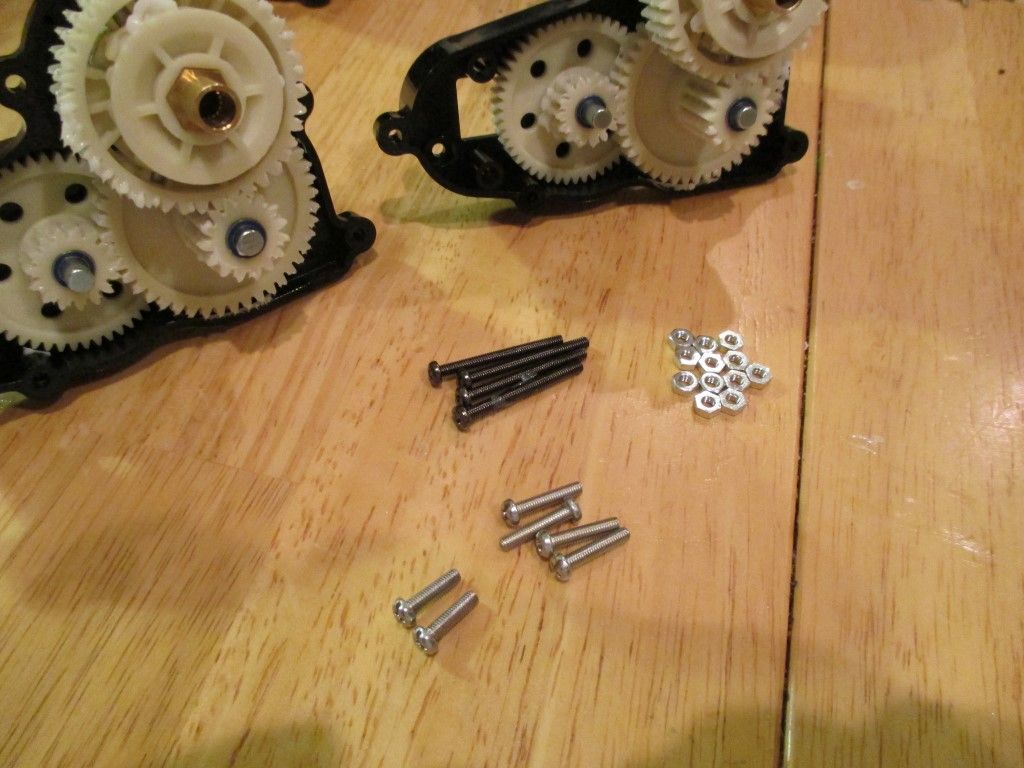

Here they are, mostly complete. Make sure that the axles spin freely after you put the halves together.
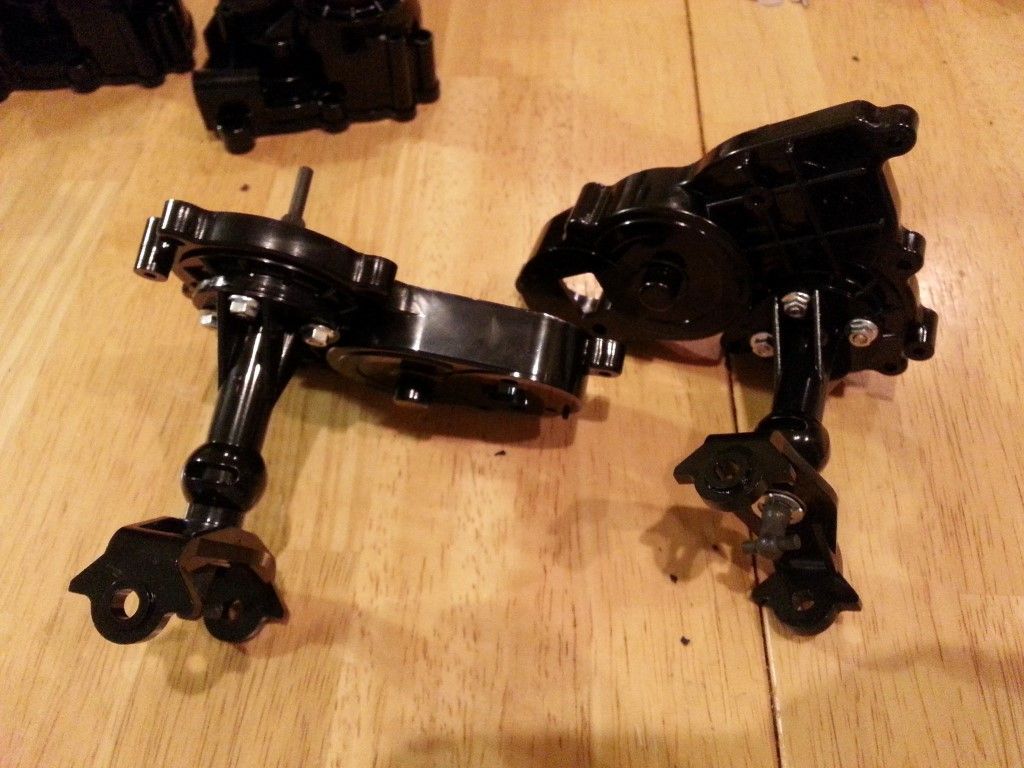
Step 15 – Attaching the pinion gears to the motors
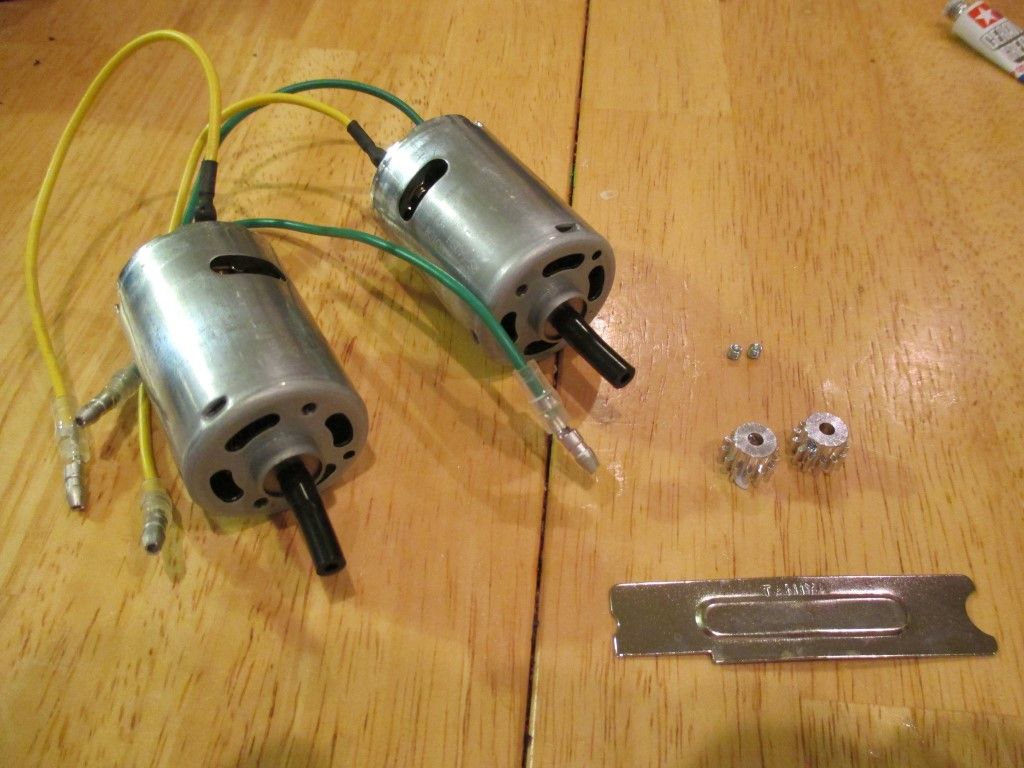

I installed the stock pinions, which are fairly soft. I will likely replace these with hardened steel gears from Robinson.
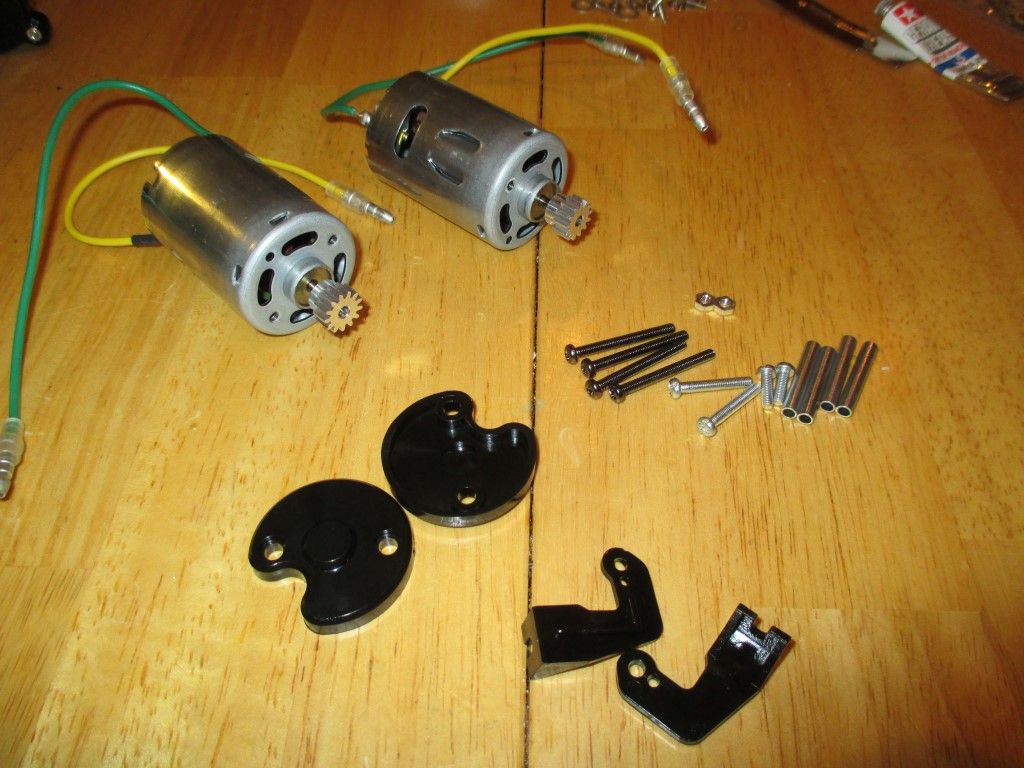
Step 16 – Attaching the motors to the gearboxes
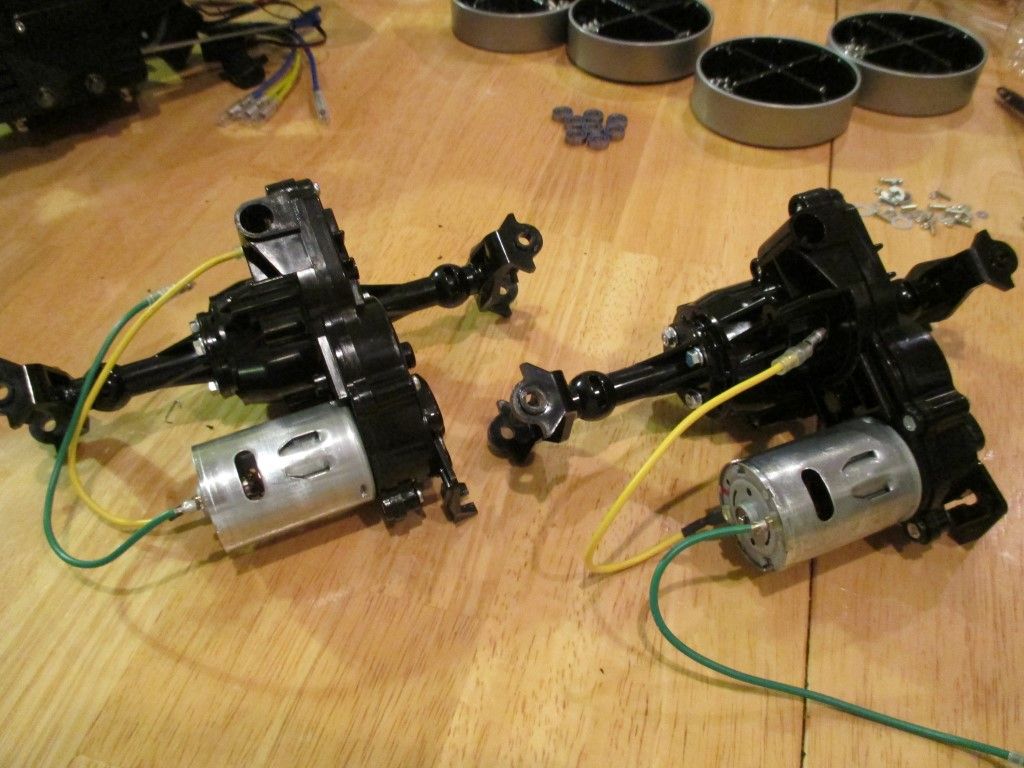
In the next post, I’m going to finish up the gearboxes by attaching the suspension parts.

Hi there, I am in the process of building a super Clod buster. I had assembled both gearboxes and axles just fine. I attached the suspension arms ok. But when I went to screw on the metal axle stays, I found that the hole for the hole for the mounting screw to go through was 180 degrees away from where it needed to be. Having stripped the whole lot down, I find that the nipple on the axle tube to line it up with the gearbox means the axle is always rotated 180 degrees away from where it needs to be. This is the case even if I swap the two axles over. I am at a loss to what to do, other than cut the nipples of so I can rotate it round. Can you advise please?